Setting up WSL and VSCode for Windows Users
This tutorial goes over installing WSL Version 1 (and in our case, we’ll be installing Ubuntu) and setting up a WSL environment in VSCode.
Start by installing VSCode. It’s a good idea to familiarize yourself with the VScode interface. Installing Ubuntu in WSL is a more involved process:
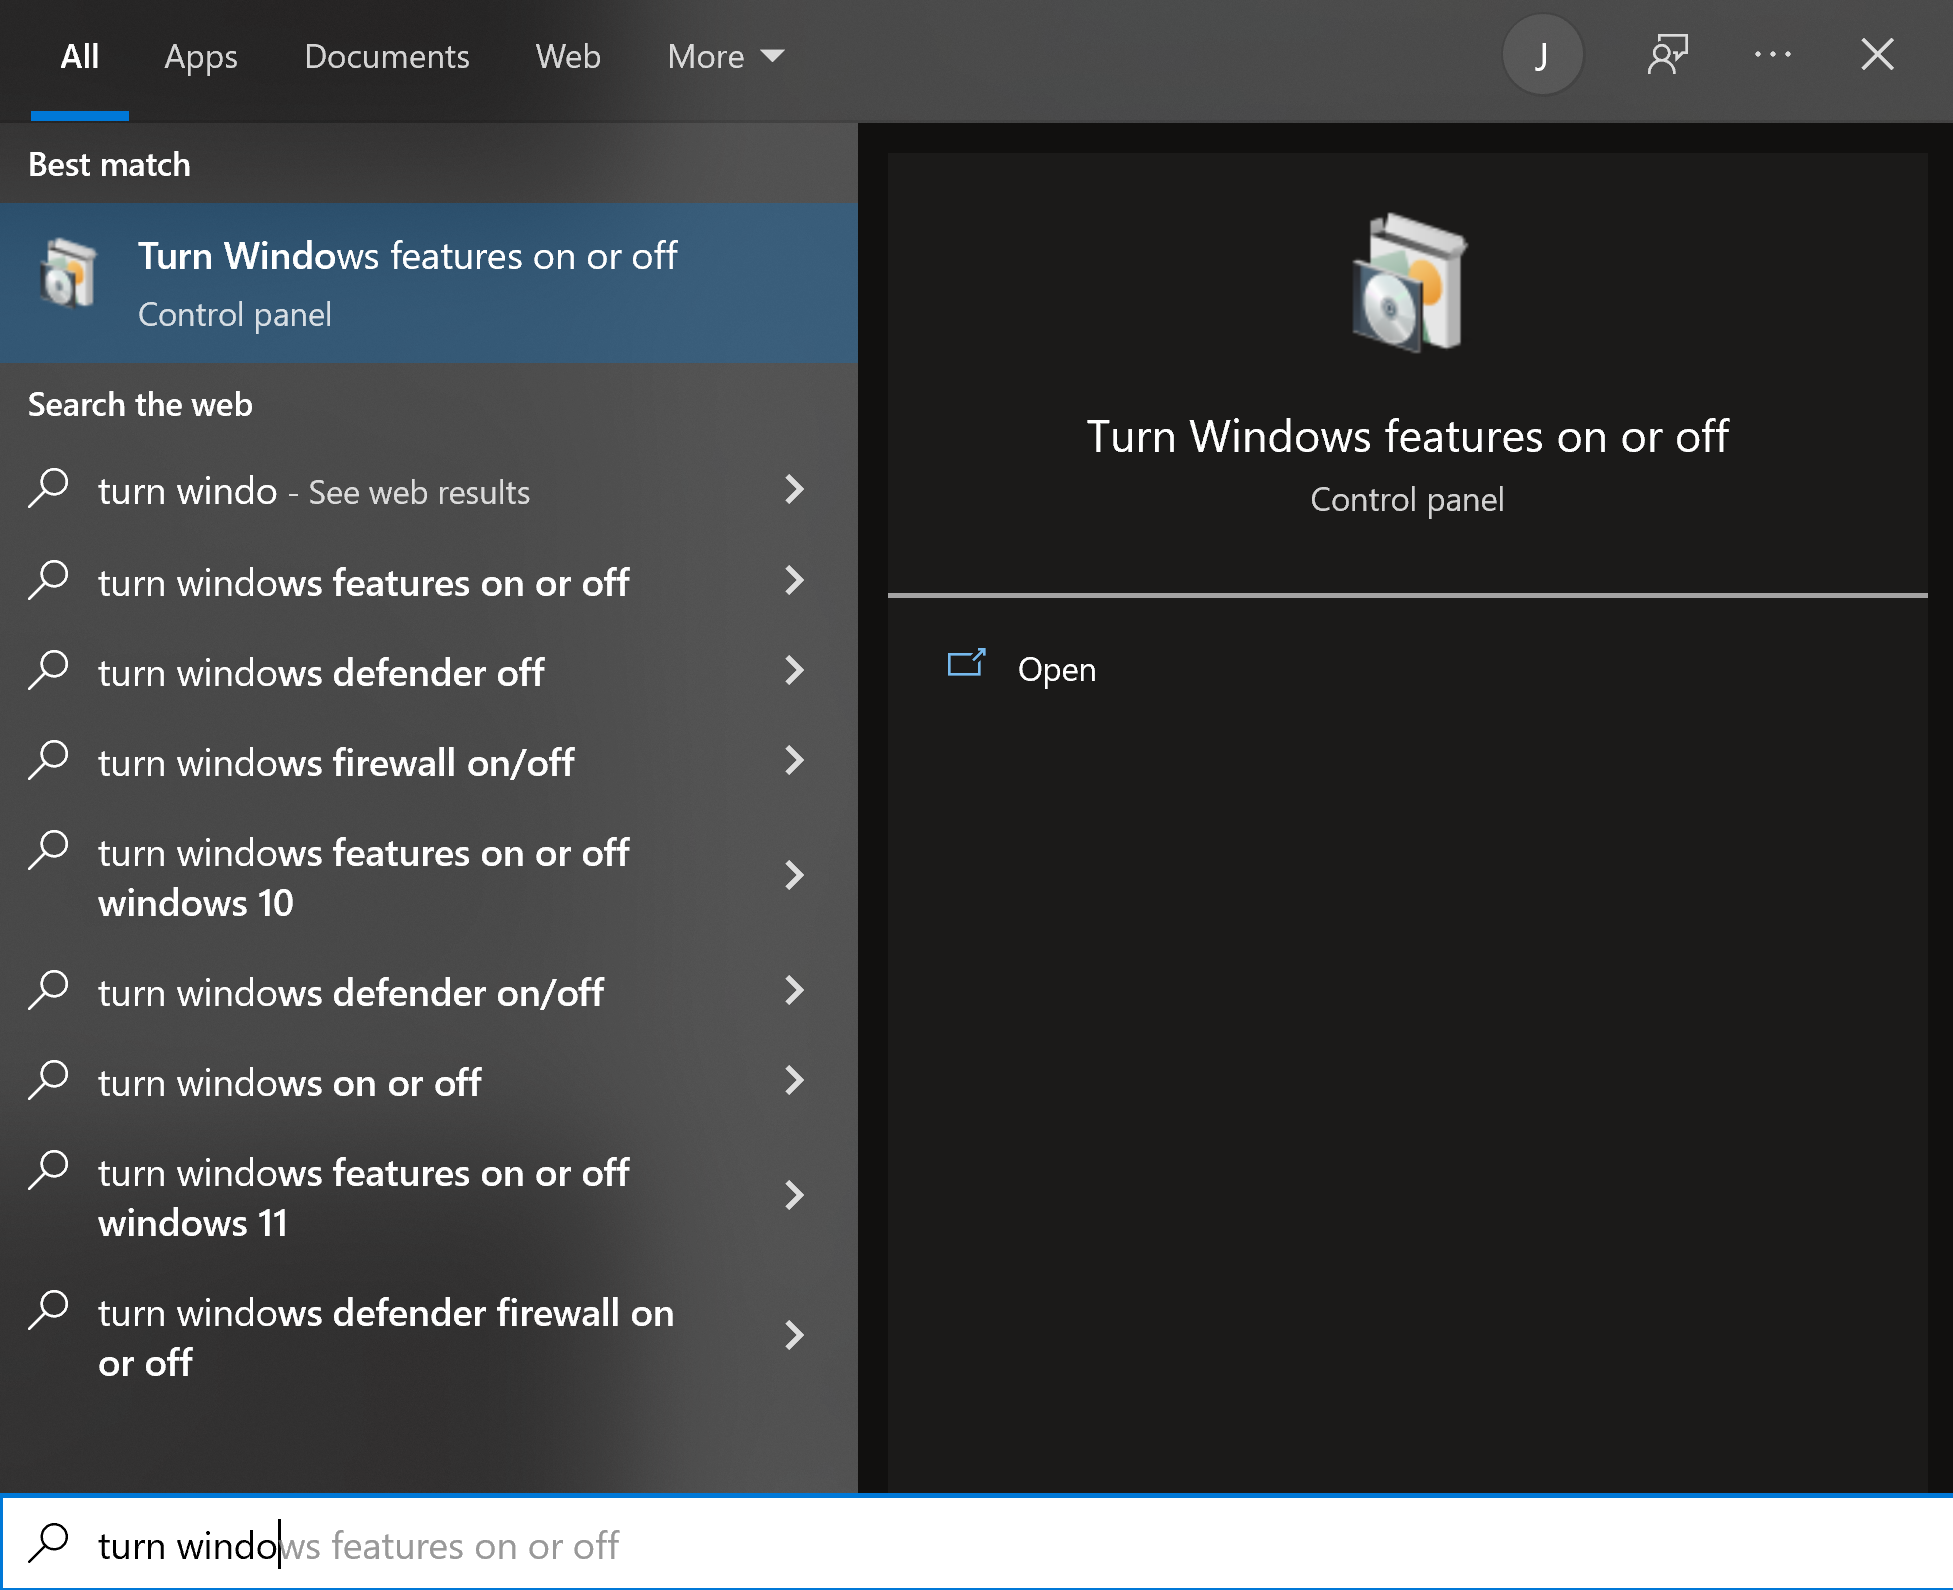
1. In the windows search bar, type “Turn Windows features on or off” (located in the control panel).
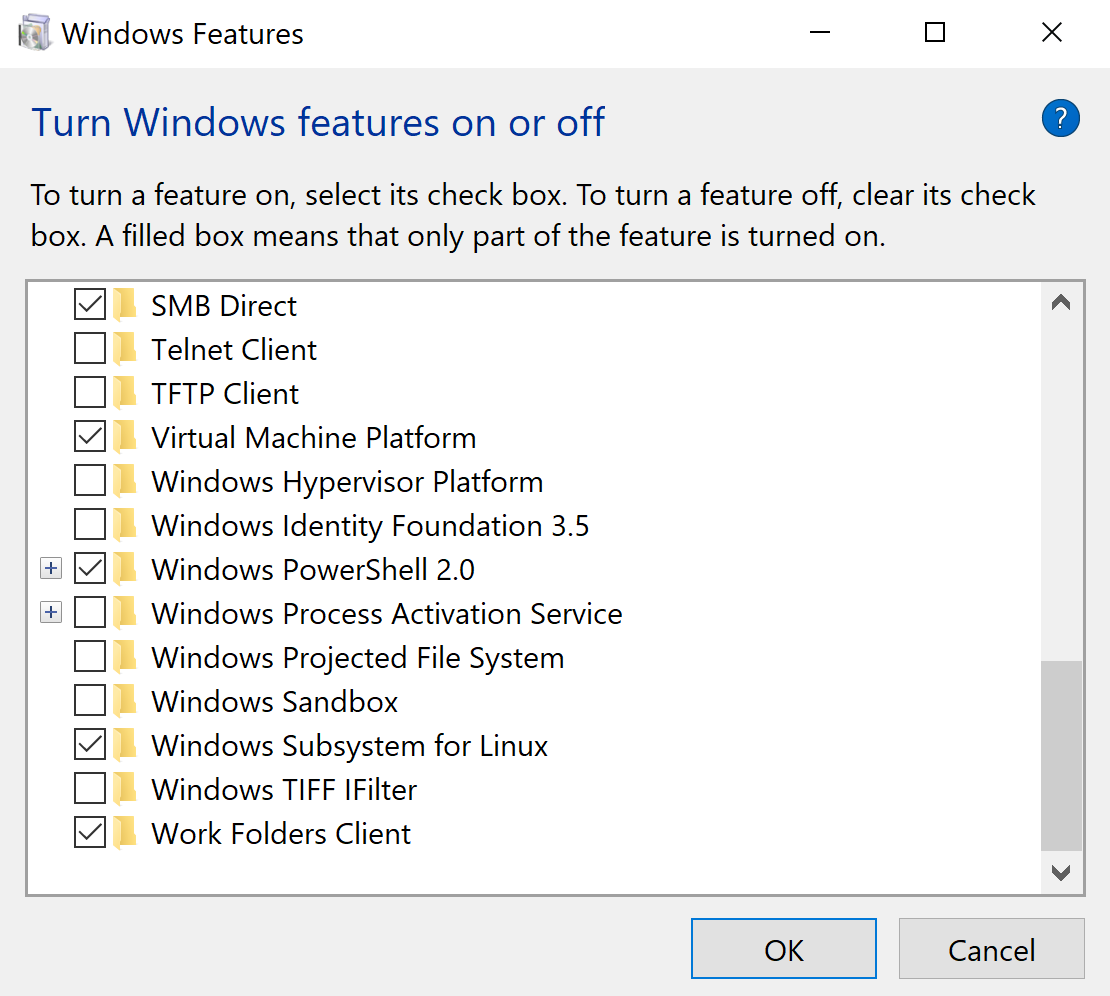
2. A new window will pop up with a list of checkboxes. Scroll down to “Windows Subsystem for Linux” and make sure that box is checked. Then click “OK”.
3. Once Windows has applied changes, click “Restart now” to reboot and enable WSL.
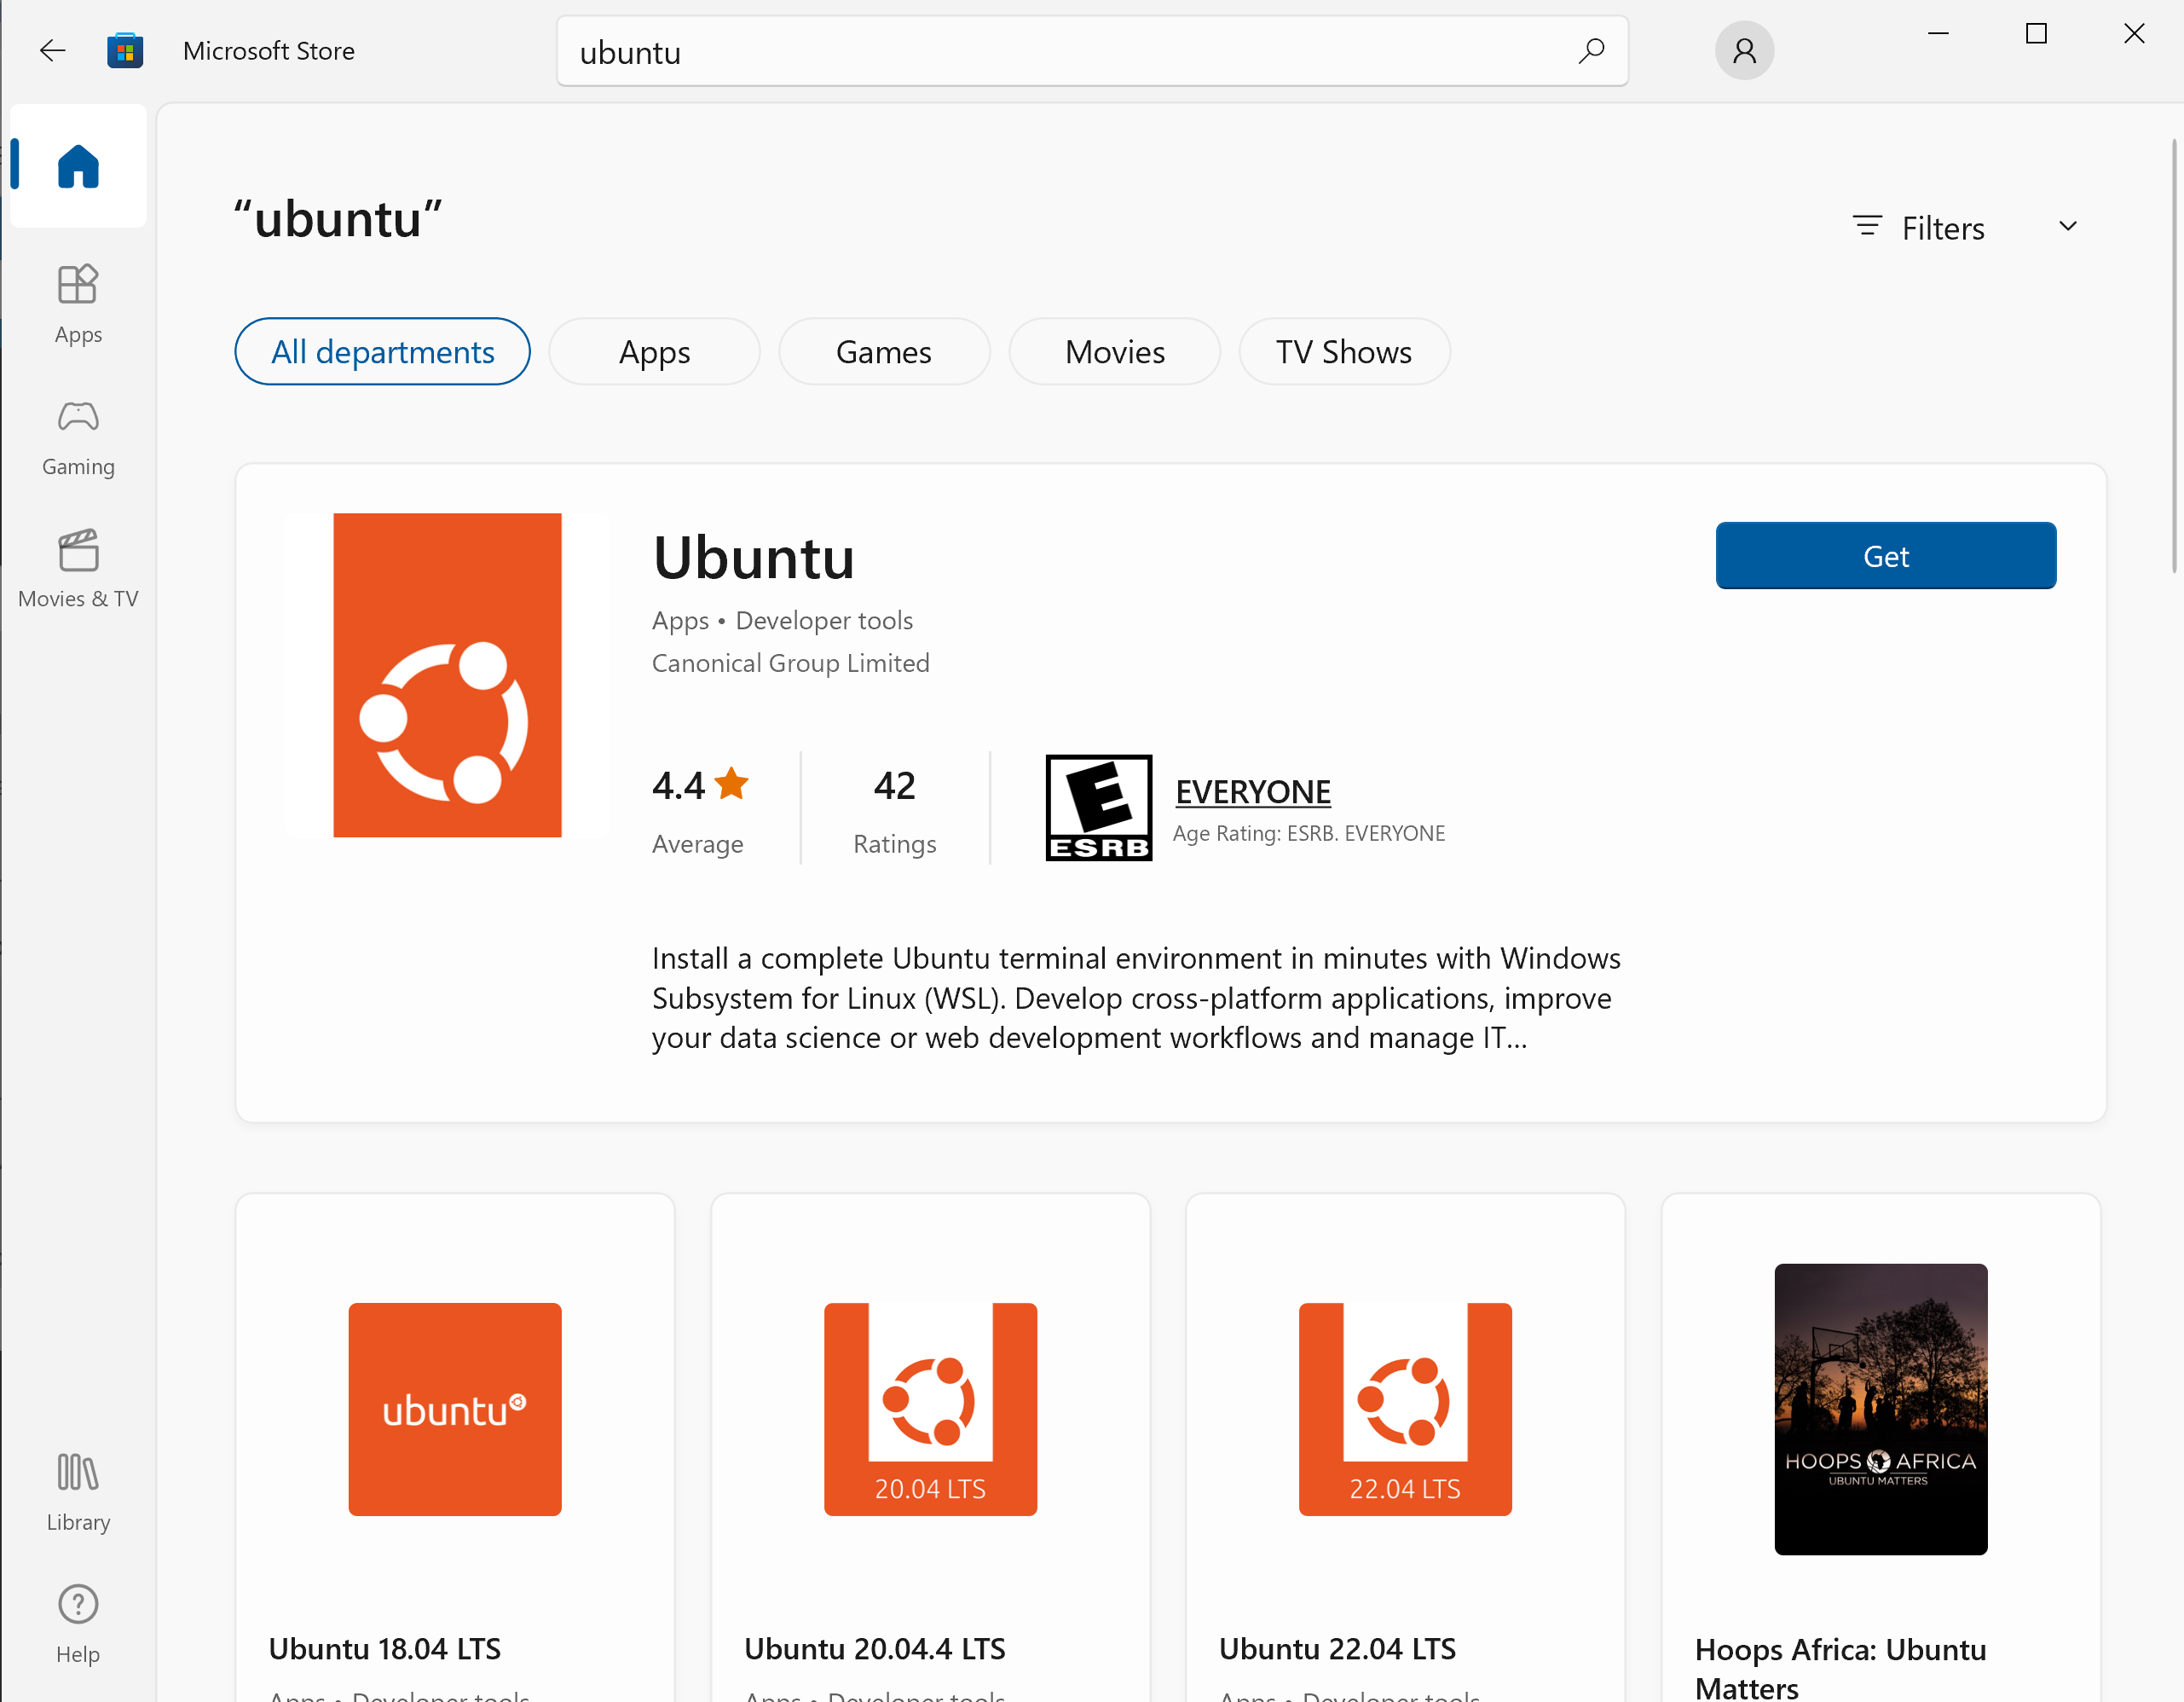
4. After reboot, open the Microsoft Store app from the search bar, and search for “Ubuntu”.
5. A new bash terminal will pop up. Wait for the install to run, and create a username and password when prompted. Note, if you forget your password, can manually reset it from Windows Powershell.
Setting up VSCode to run with Ubuntu WSL
Now that we have both installed, we need to tell VSCode to look for the WSL container.
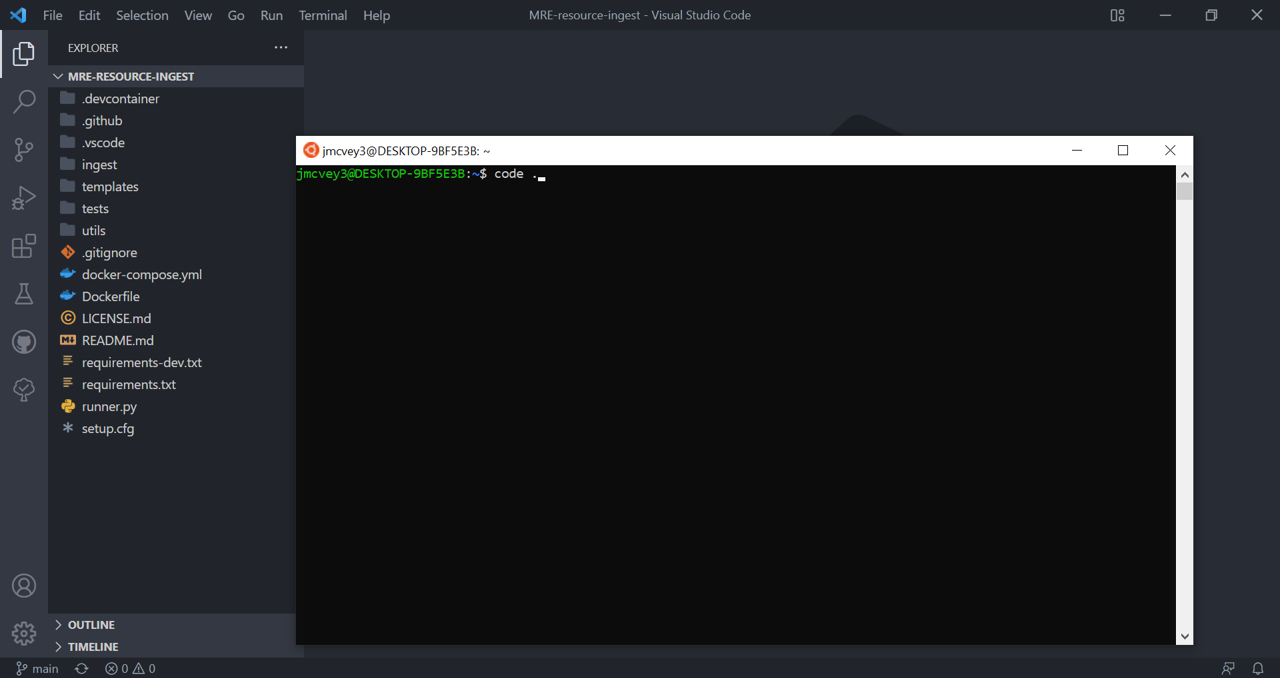
1. Open VSCode, and if you do not have an Ubuntu bash (the term for a linux terminal) window open, do so by searching for “Ubuntu for Windows”.
2. In the bash window, type code . and hit enter. This command sets up the communication between VSCode and WSL
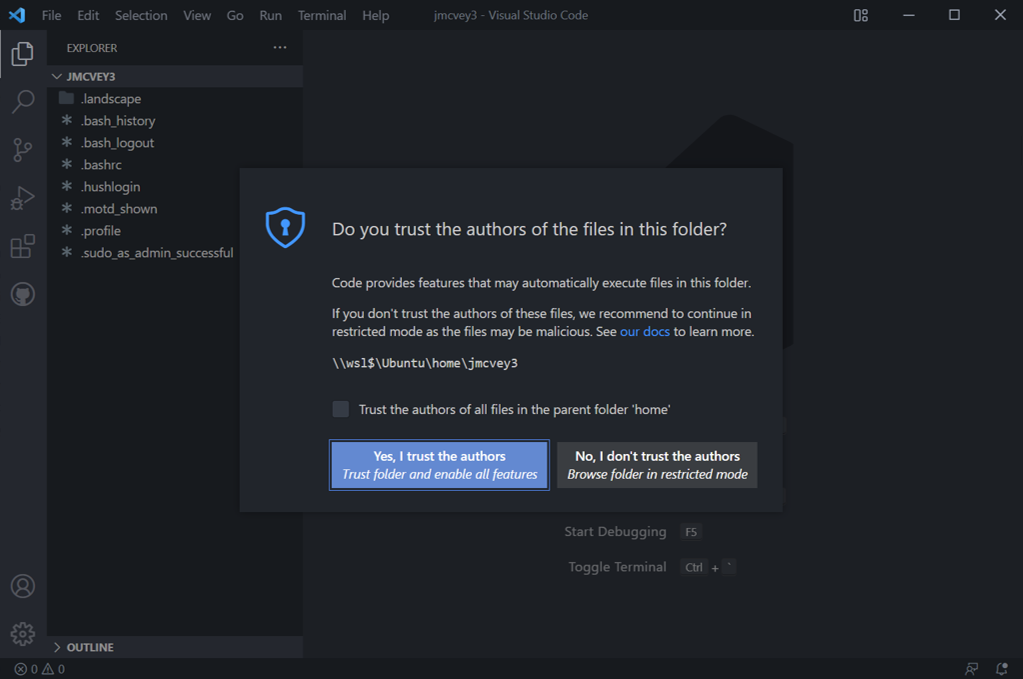
3. A new VSCode window will should pop up, and if it asks if you “trust the authors”, hit yes (that’s you).
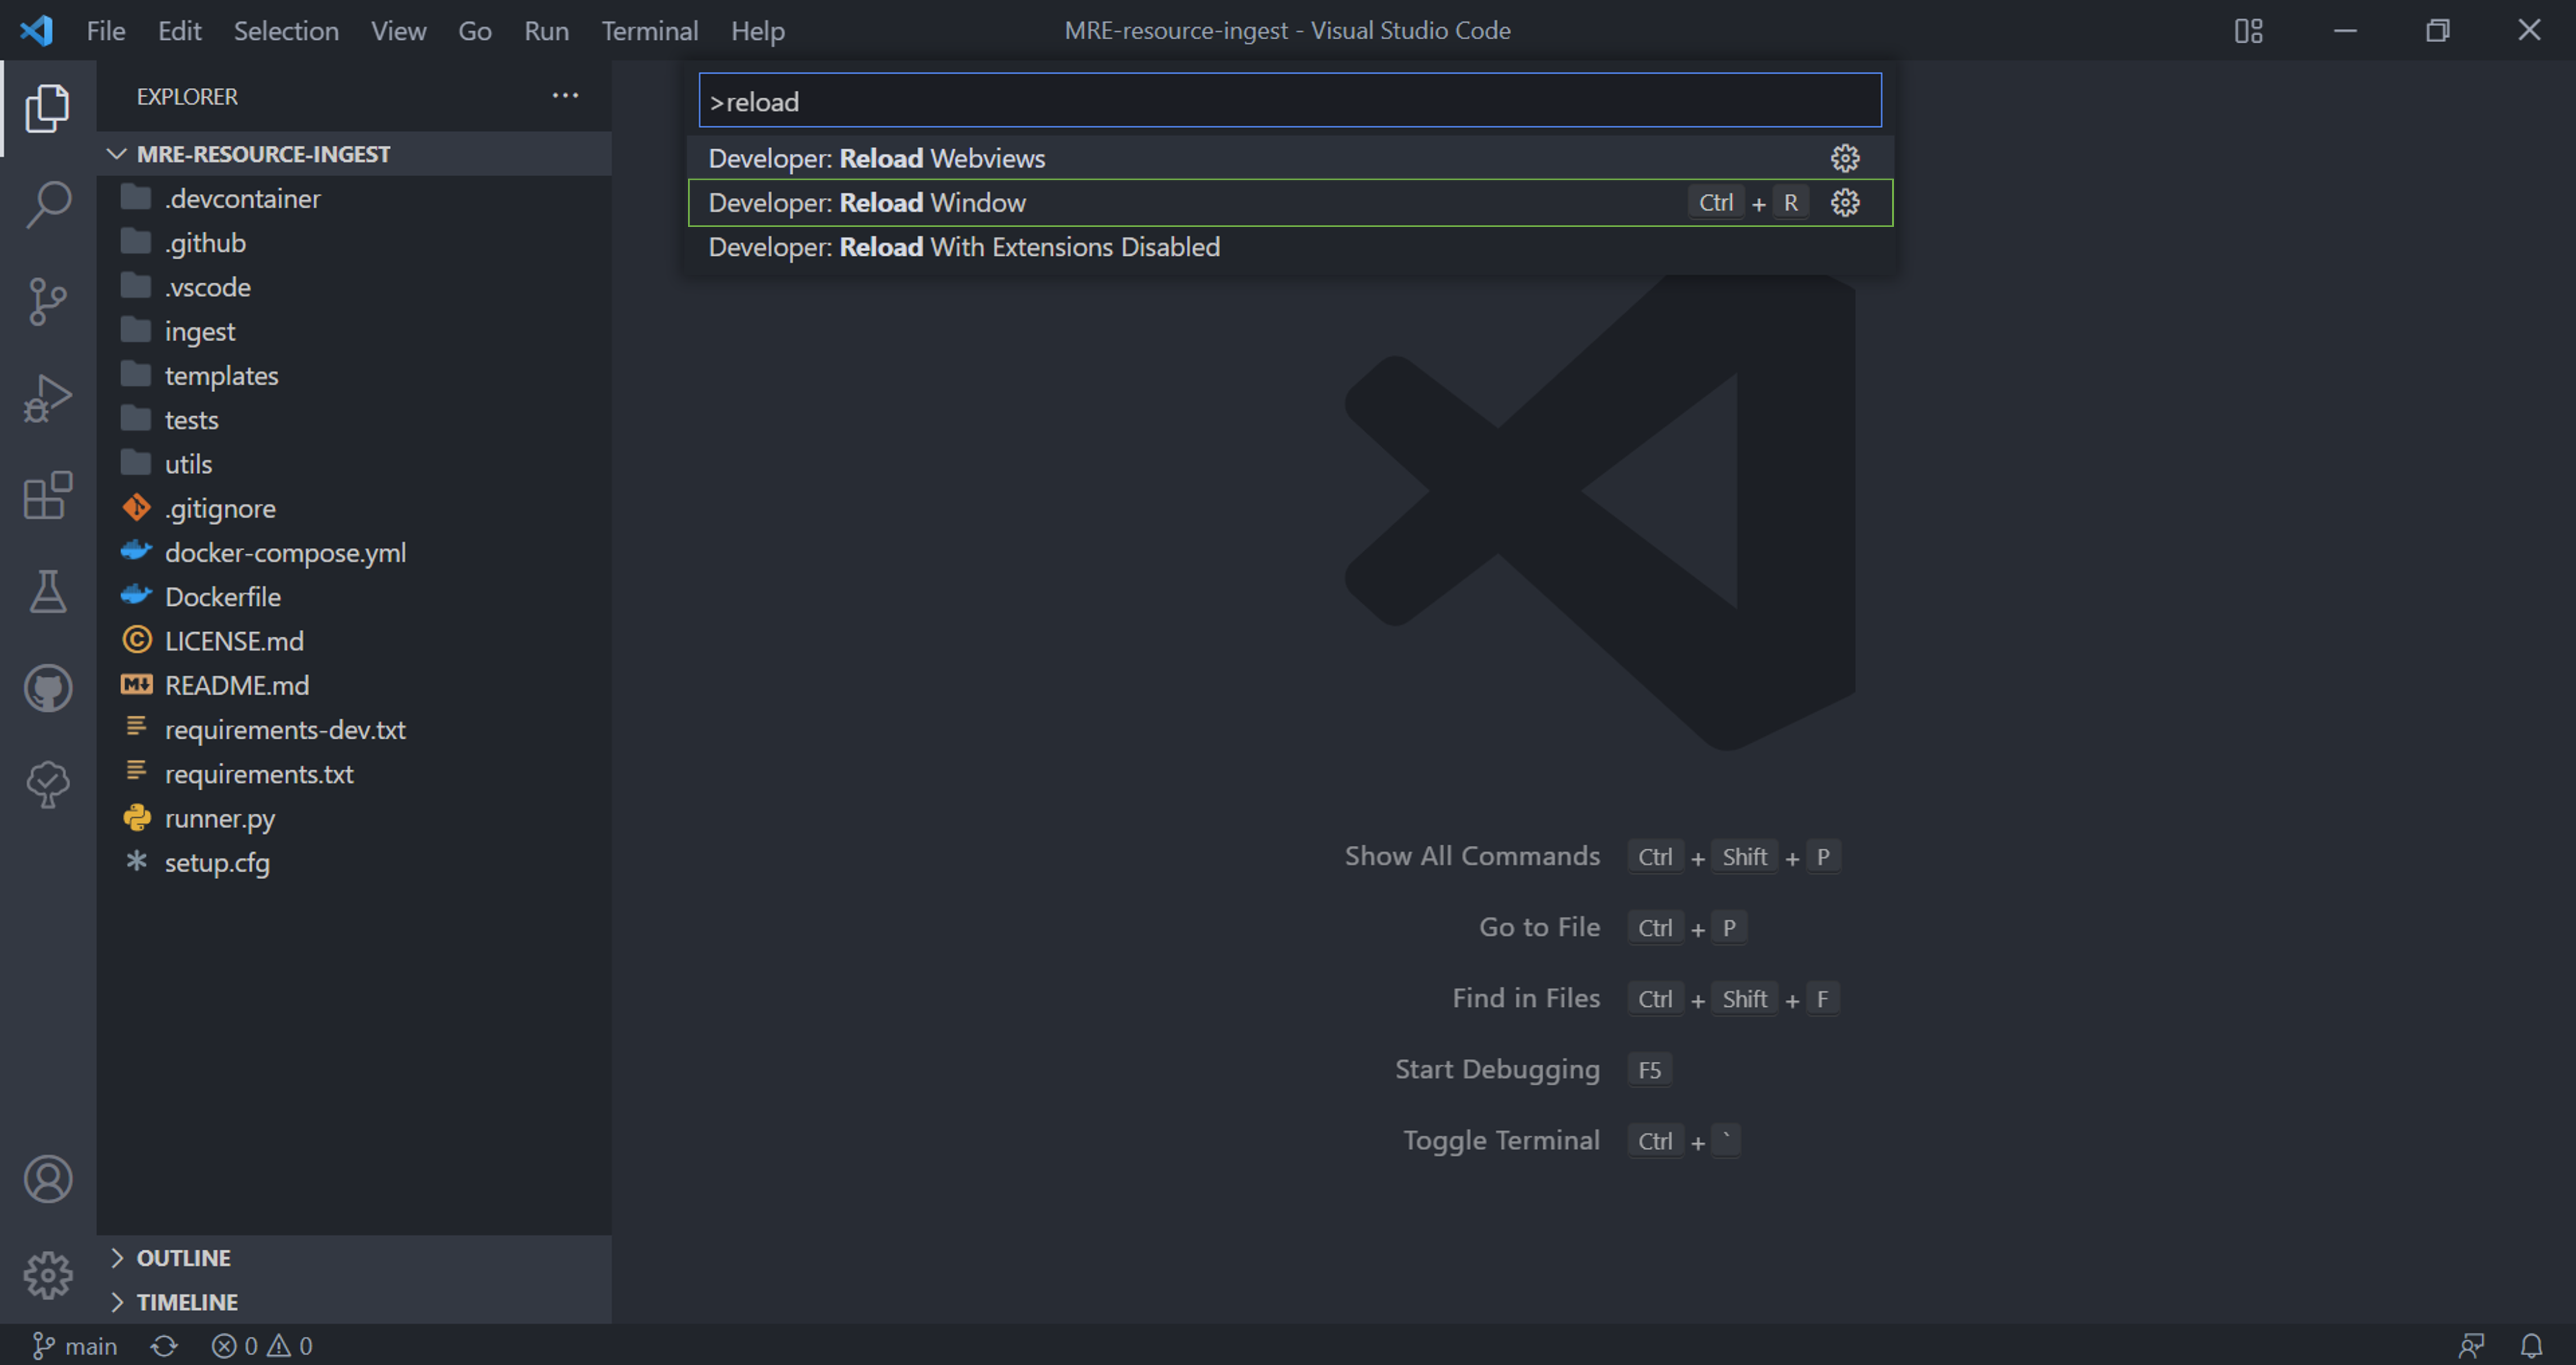
4. You can exit out of the window that just popped up, and in your original VSCode window, hit “ctrl shift p” to open the command bar and type and run “Reload Window”. (If you notice I have a different tsdat pipeline from the original tutorial, don’t worry, the steps are the same.)
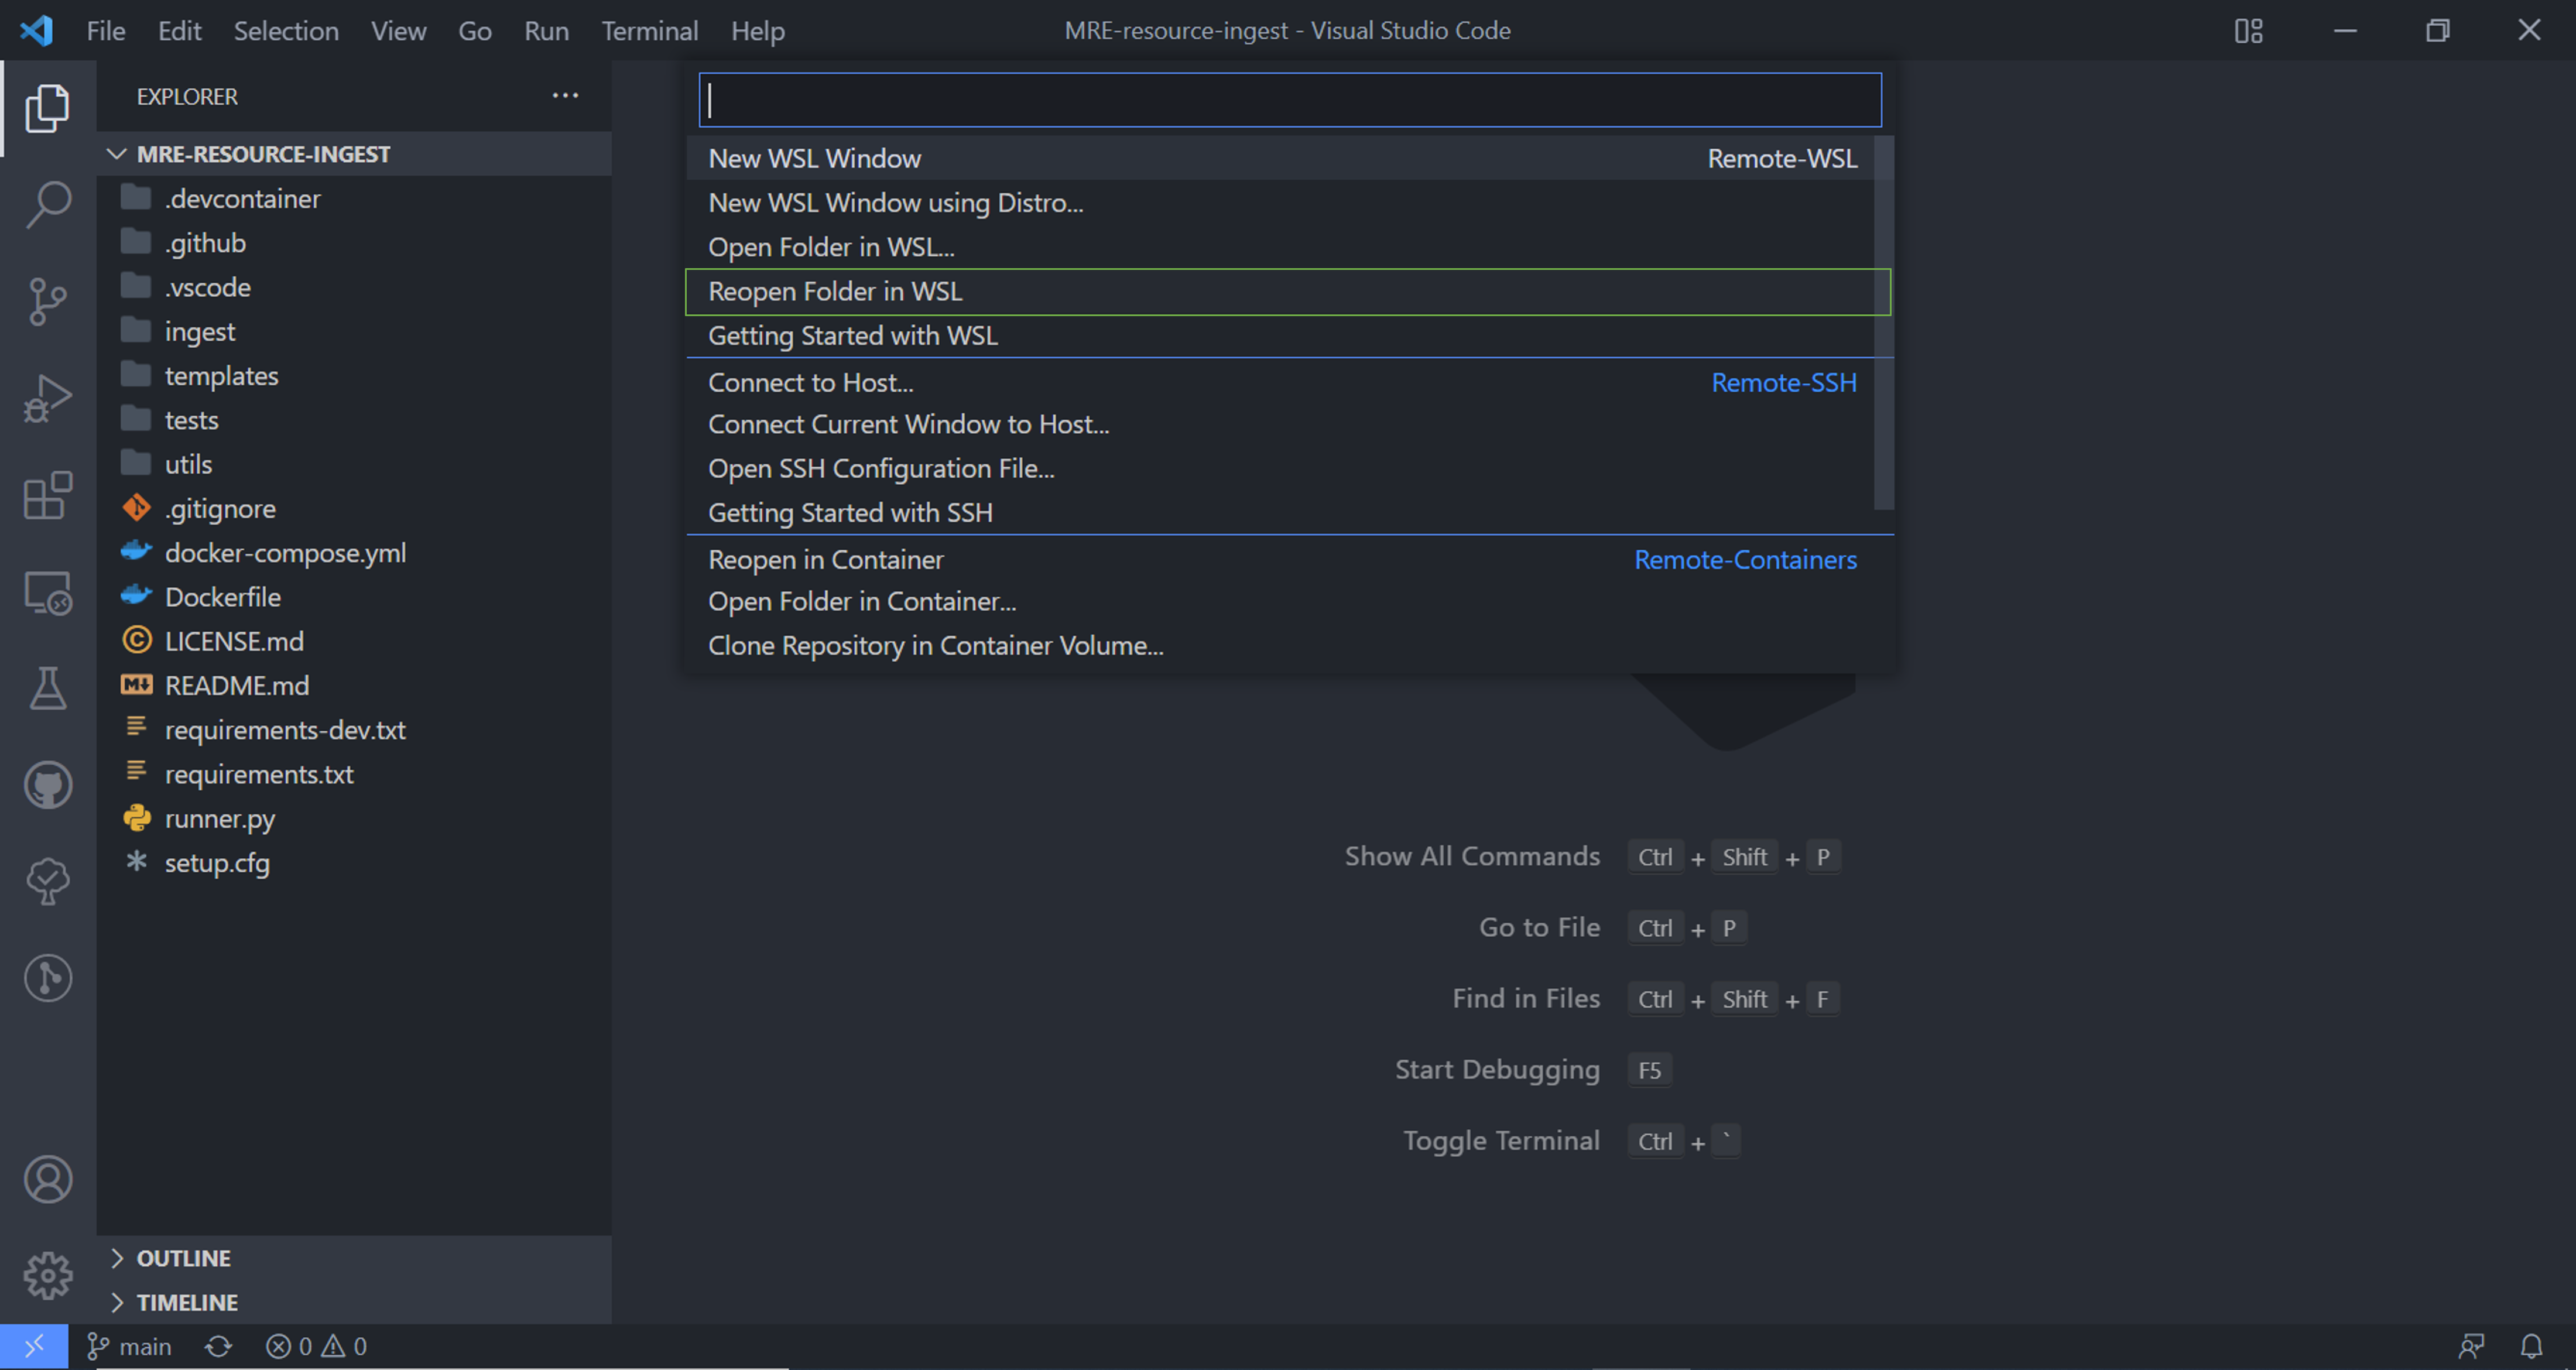
5. Once the VSCode window reloads, you’ll be able to search and find WSL commands. Open the command window (ctrl shift p) and search for “Reopen Folder in WSL”.
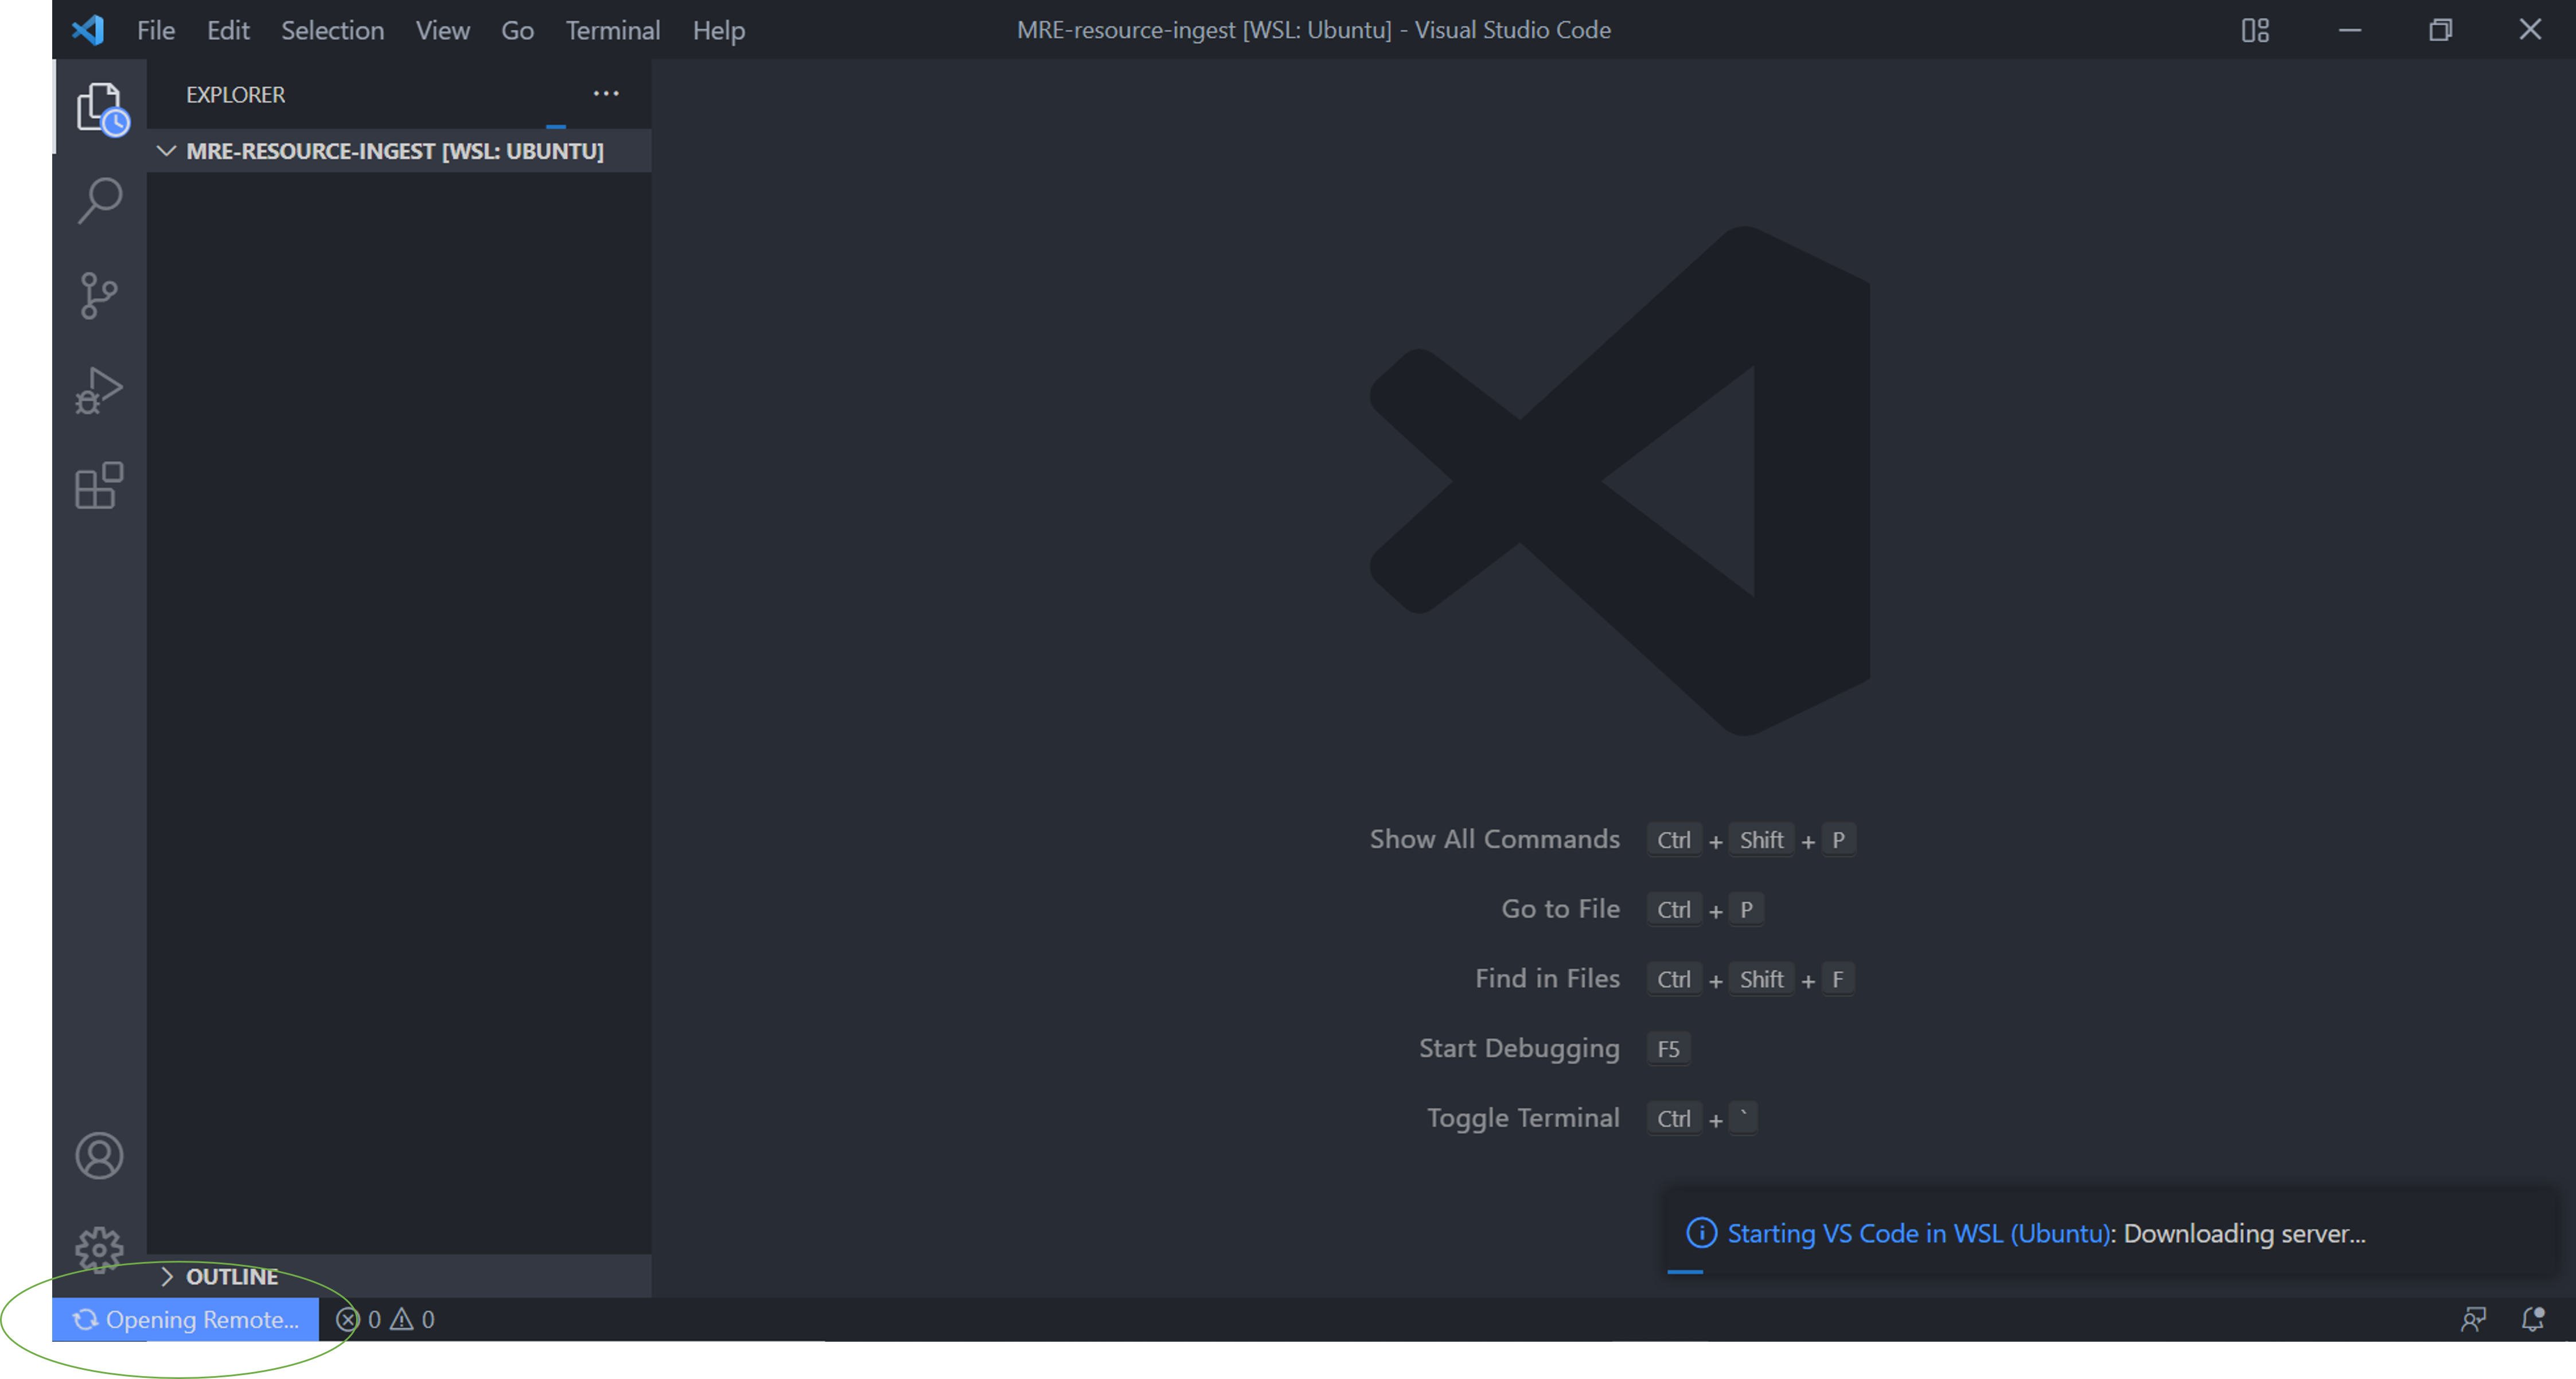
6. Wait for the window to reload and VSCode will start installing the necessary things. When it prompts you to install the recommended extensions, hit yes. You can close all the windows that pop up.

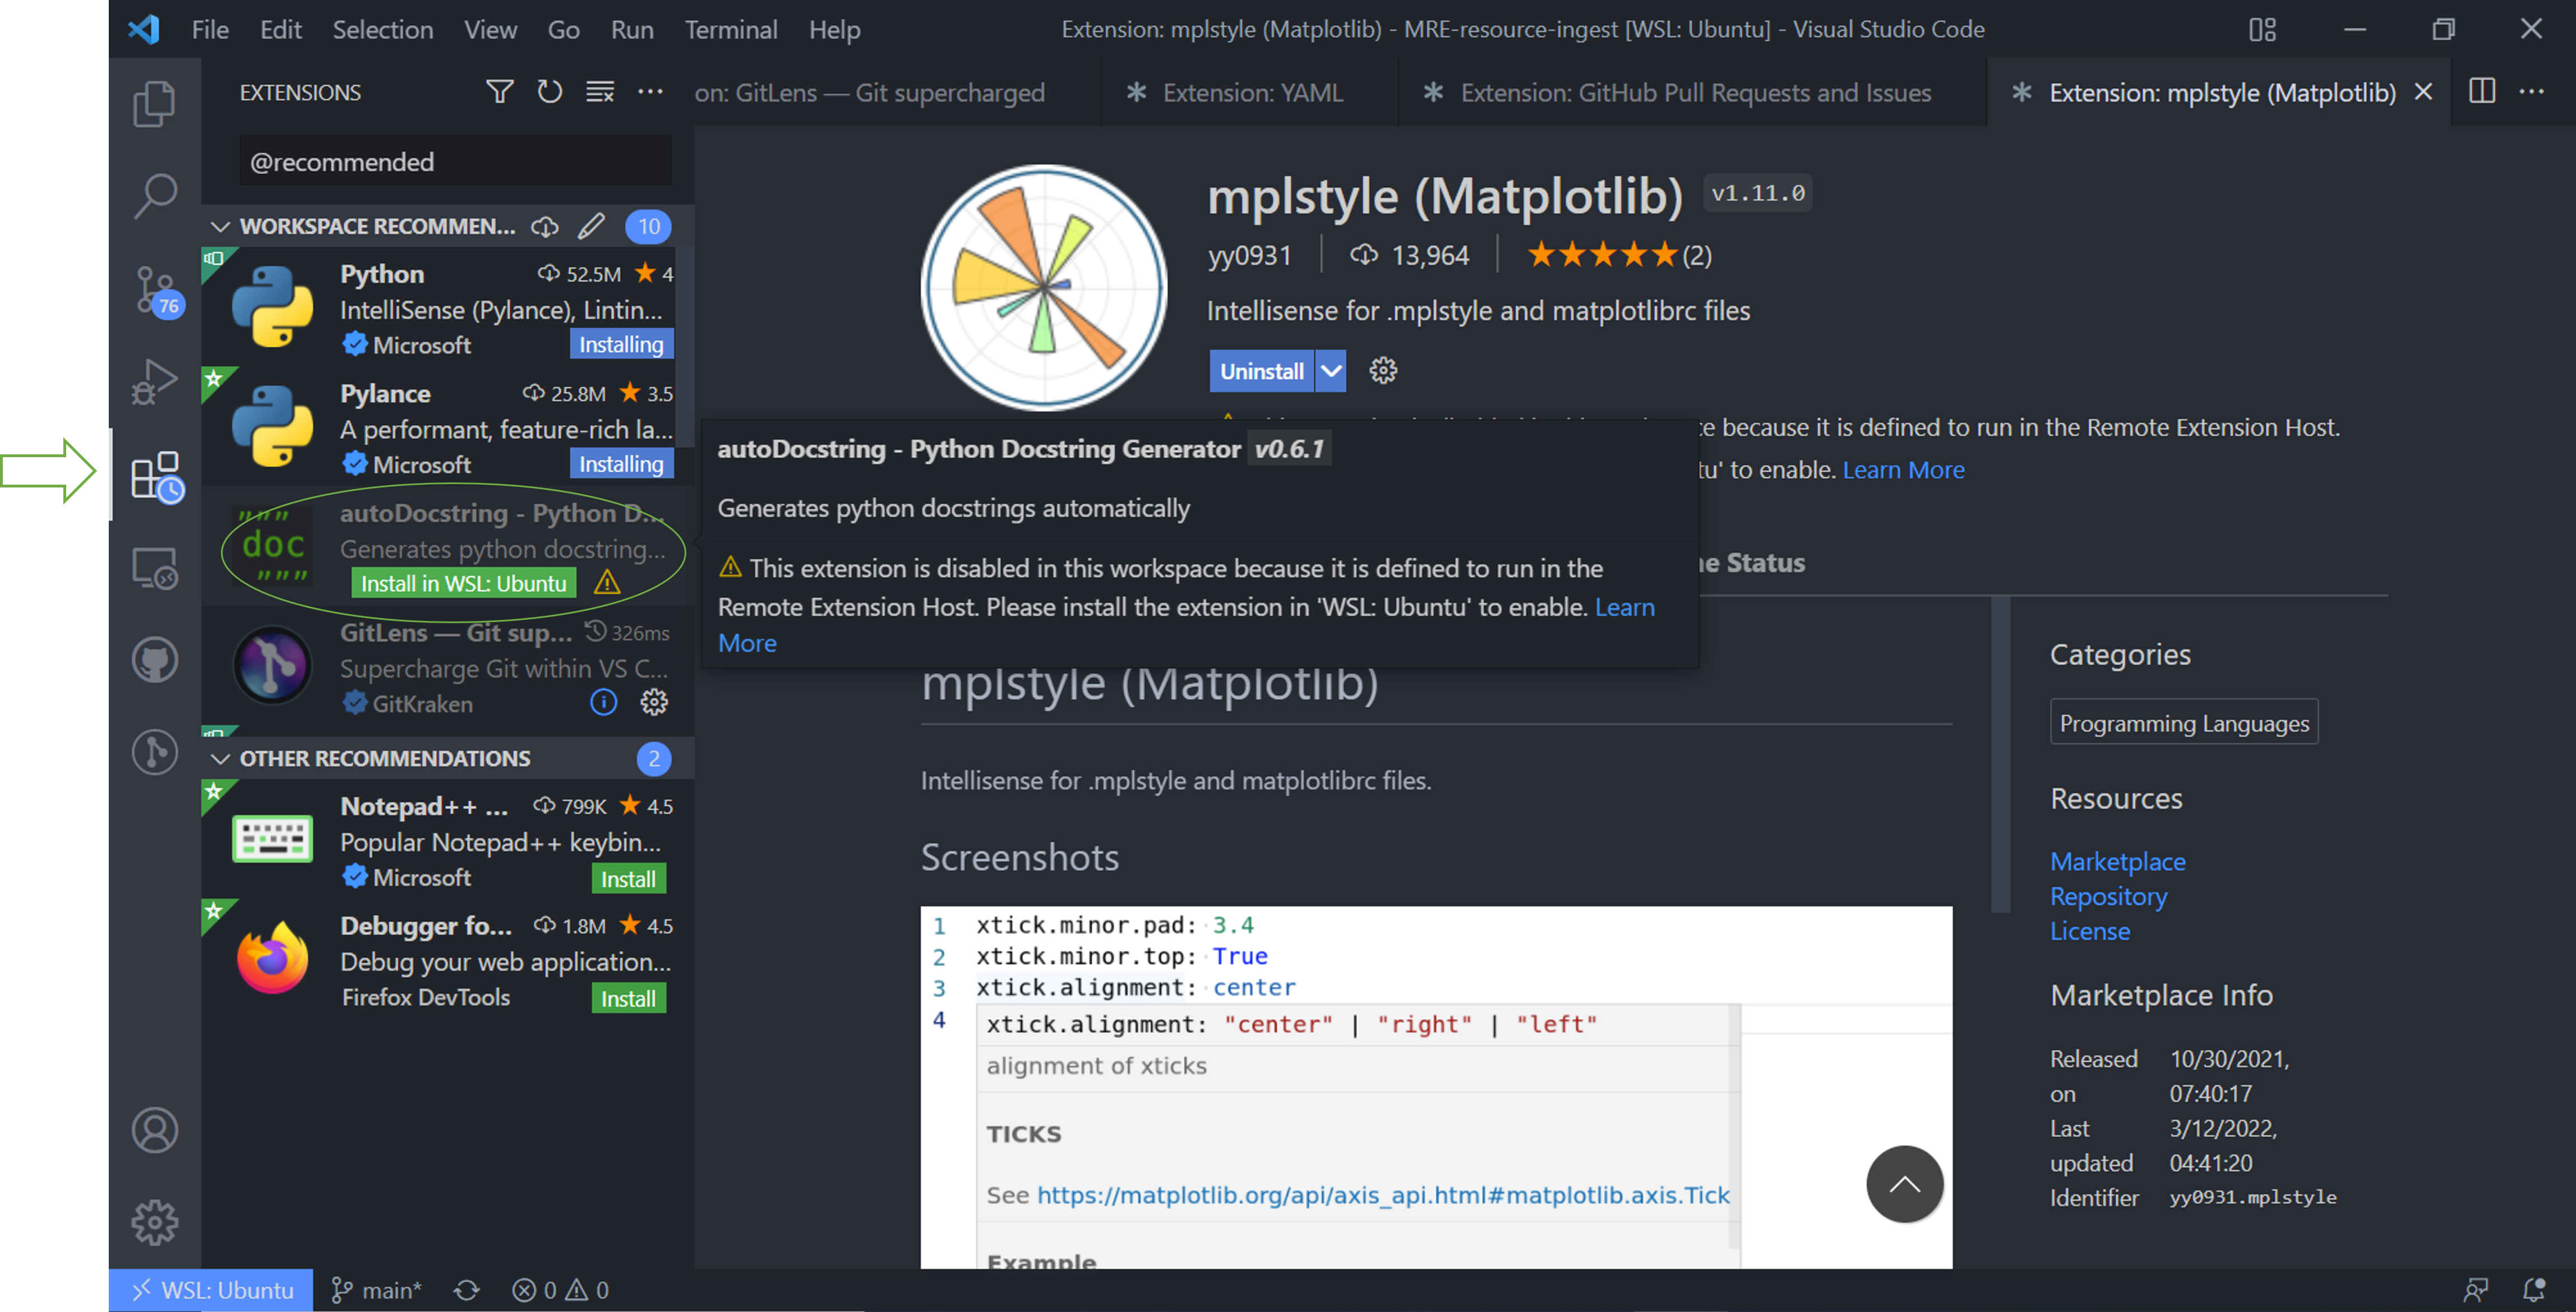
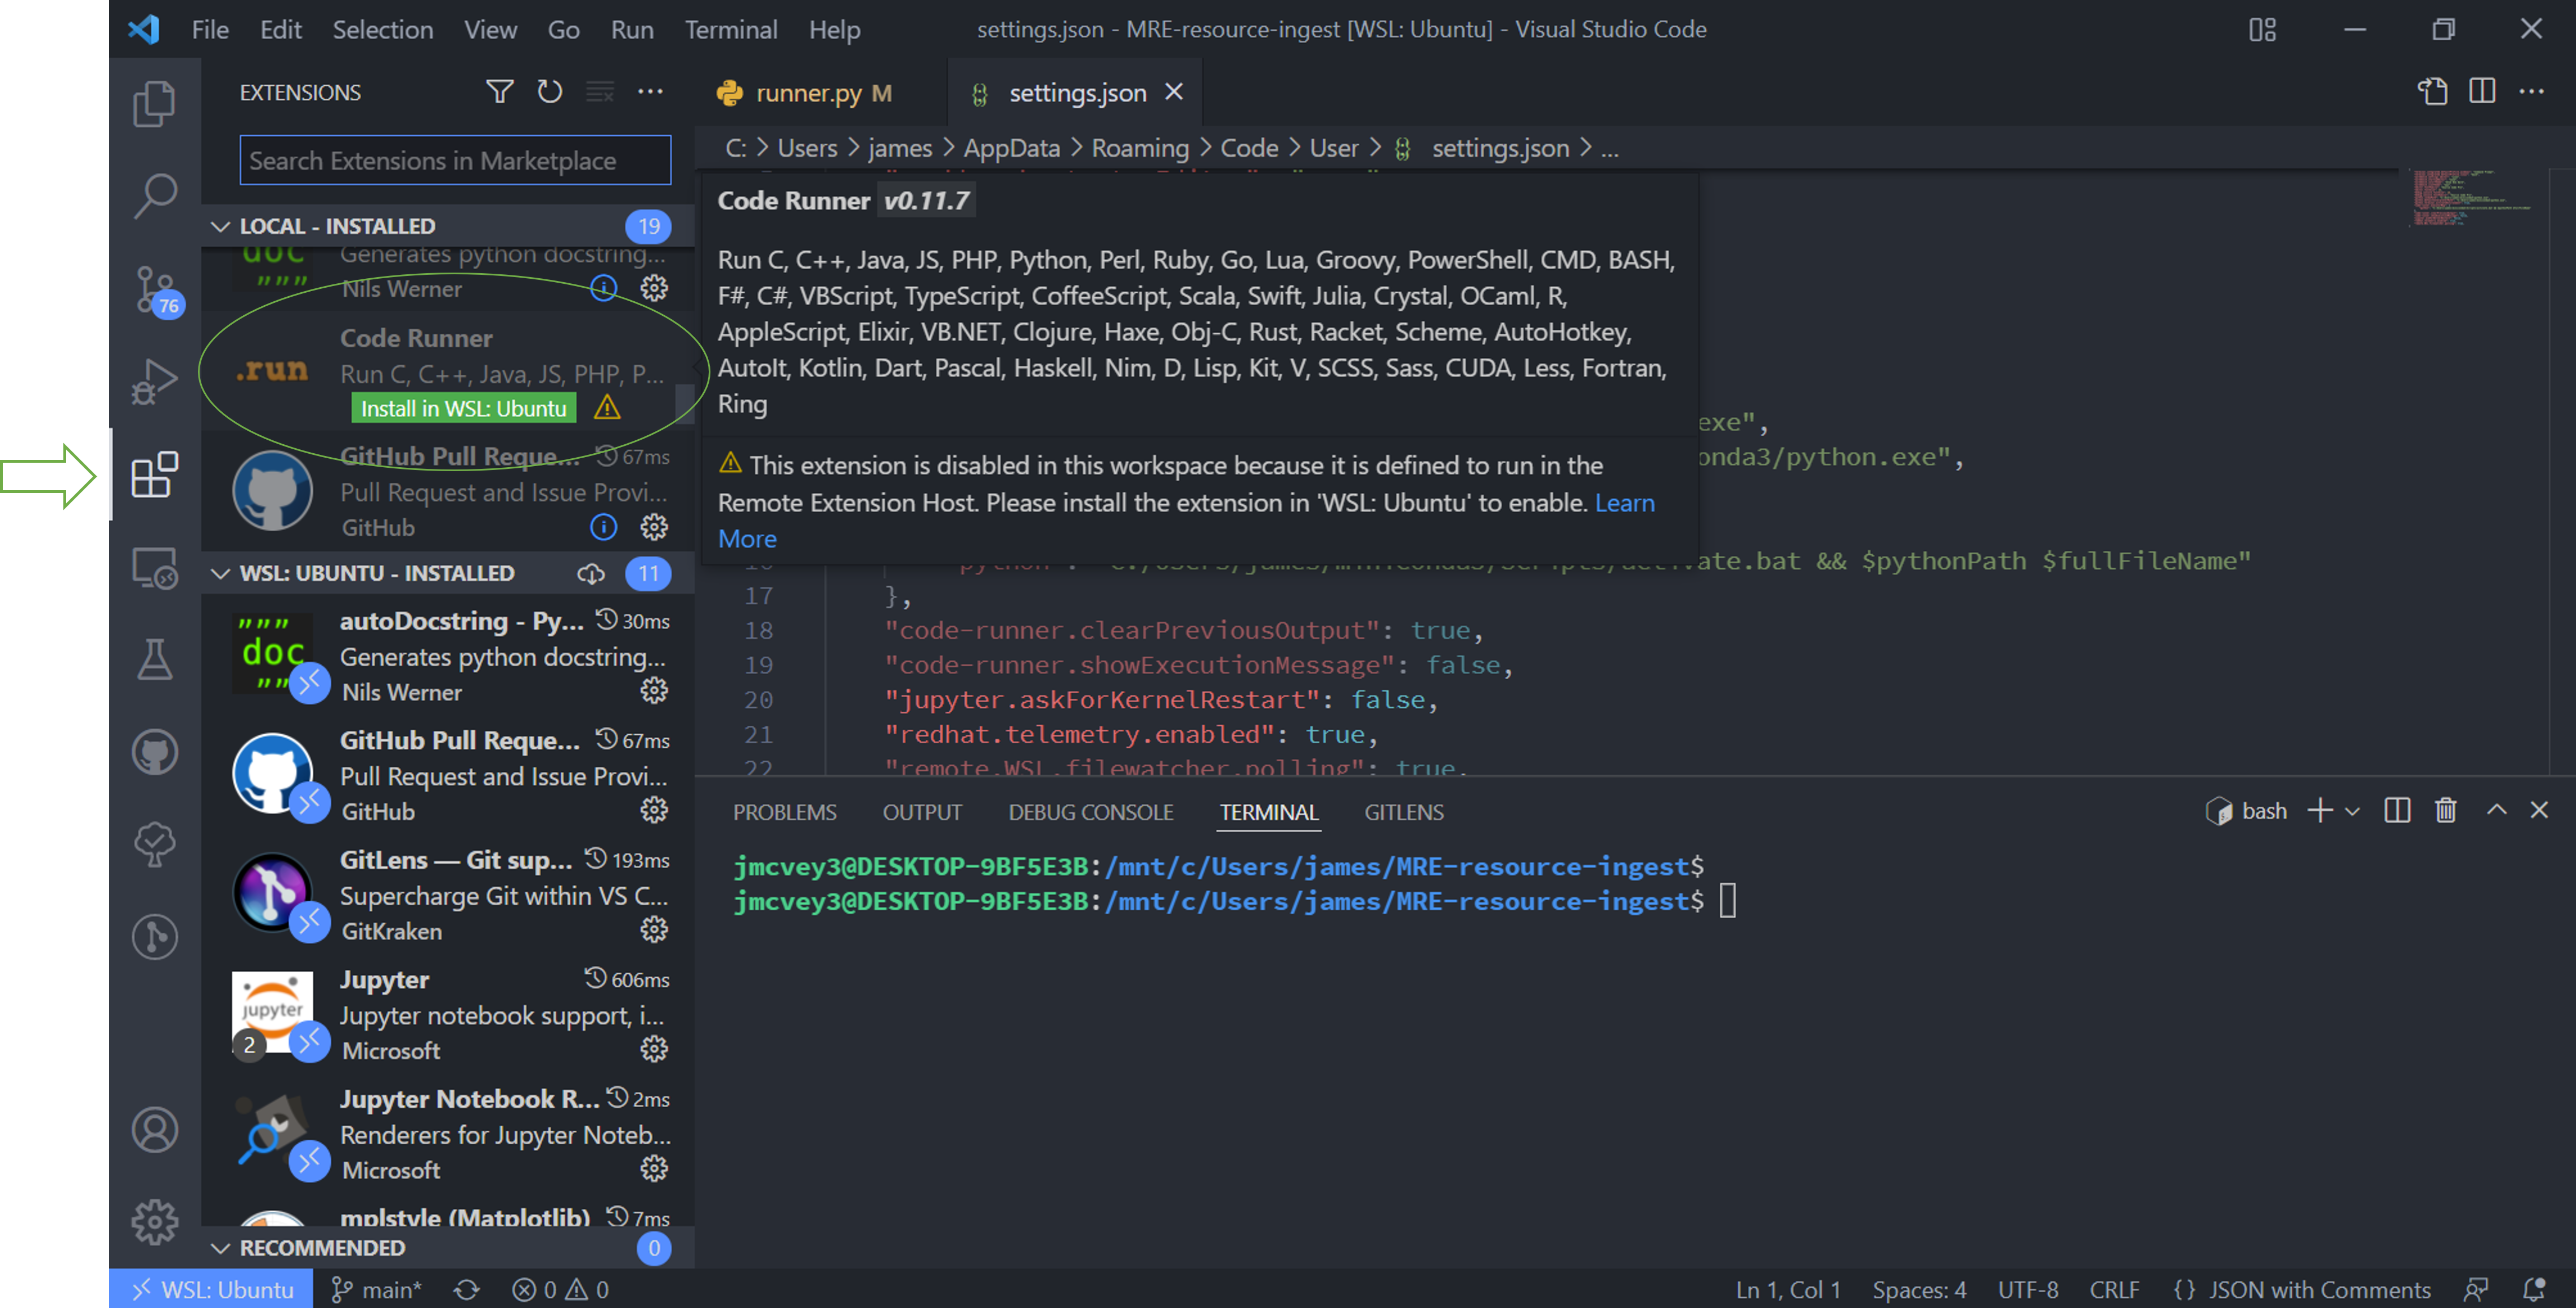
7. Occasionally VSCode will fail to import and extension for whatever reason. If it does, navigate to the extensions in the side bar and click the green “Install in WSL” button.
- The full list of extensions you want installed are:
Python (Intellisense)
Pylance
Jupyter
Jupyter notebook renderer
Github pull requests
Code Runner
mplstyle
Todo Tree
YAML
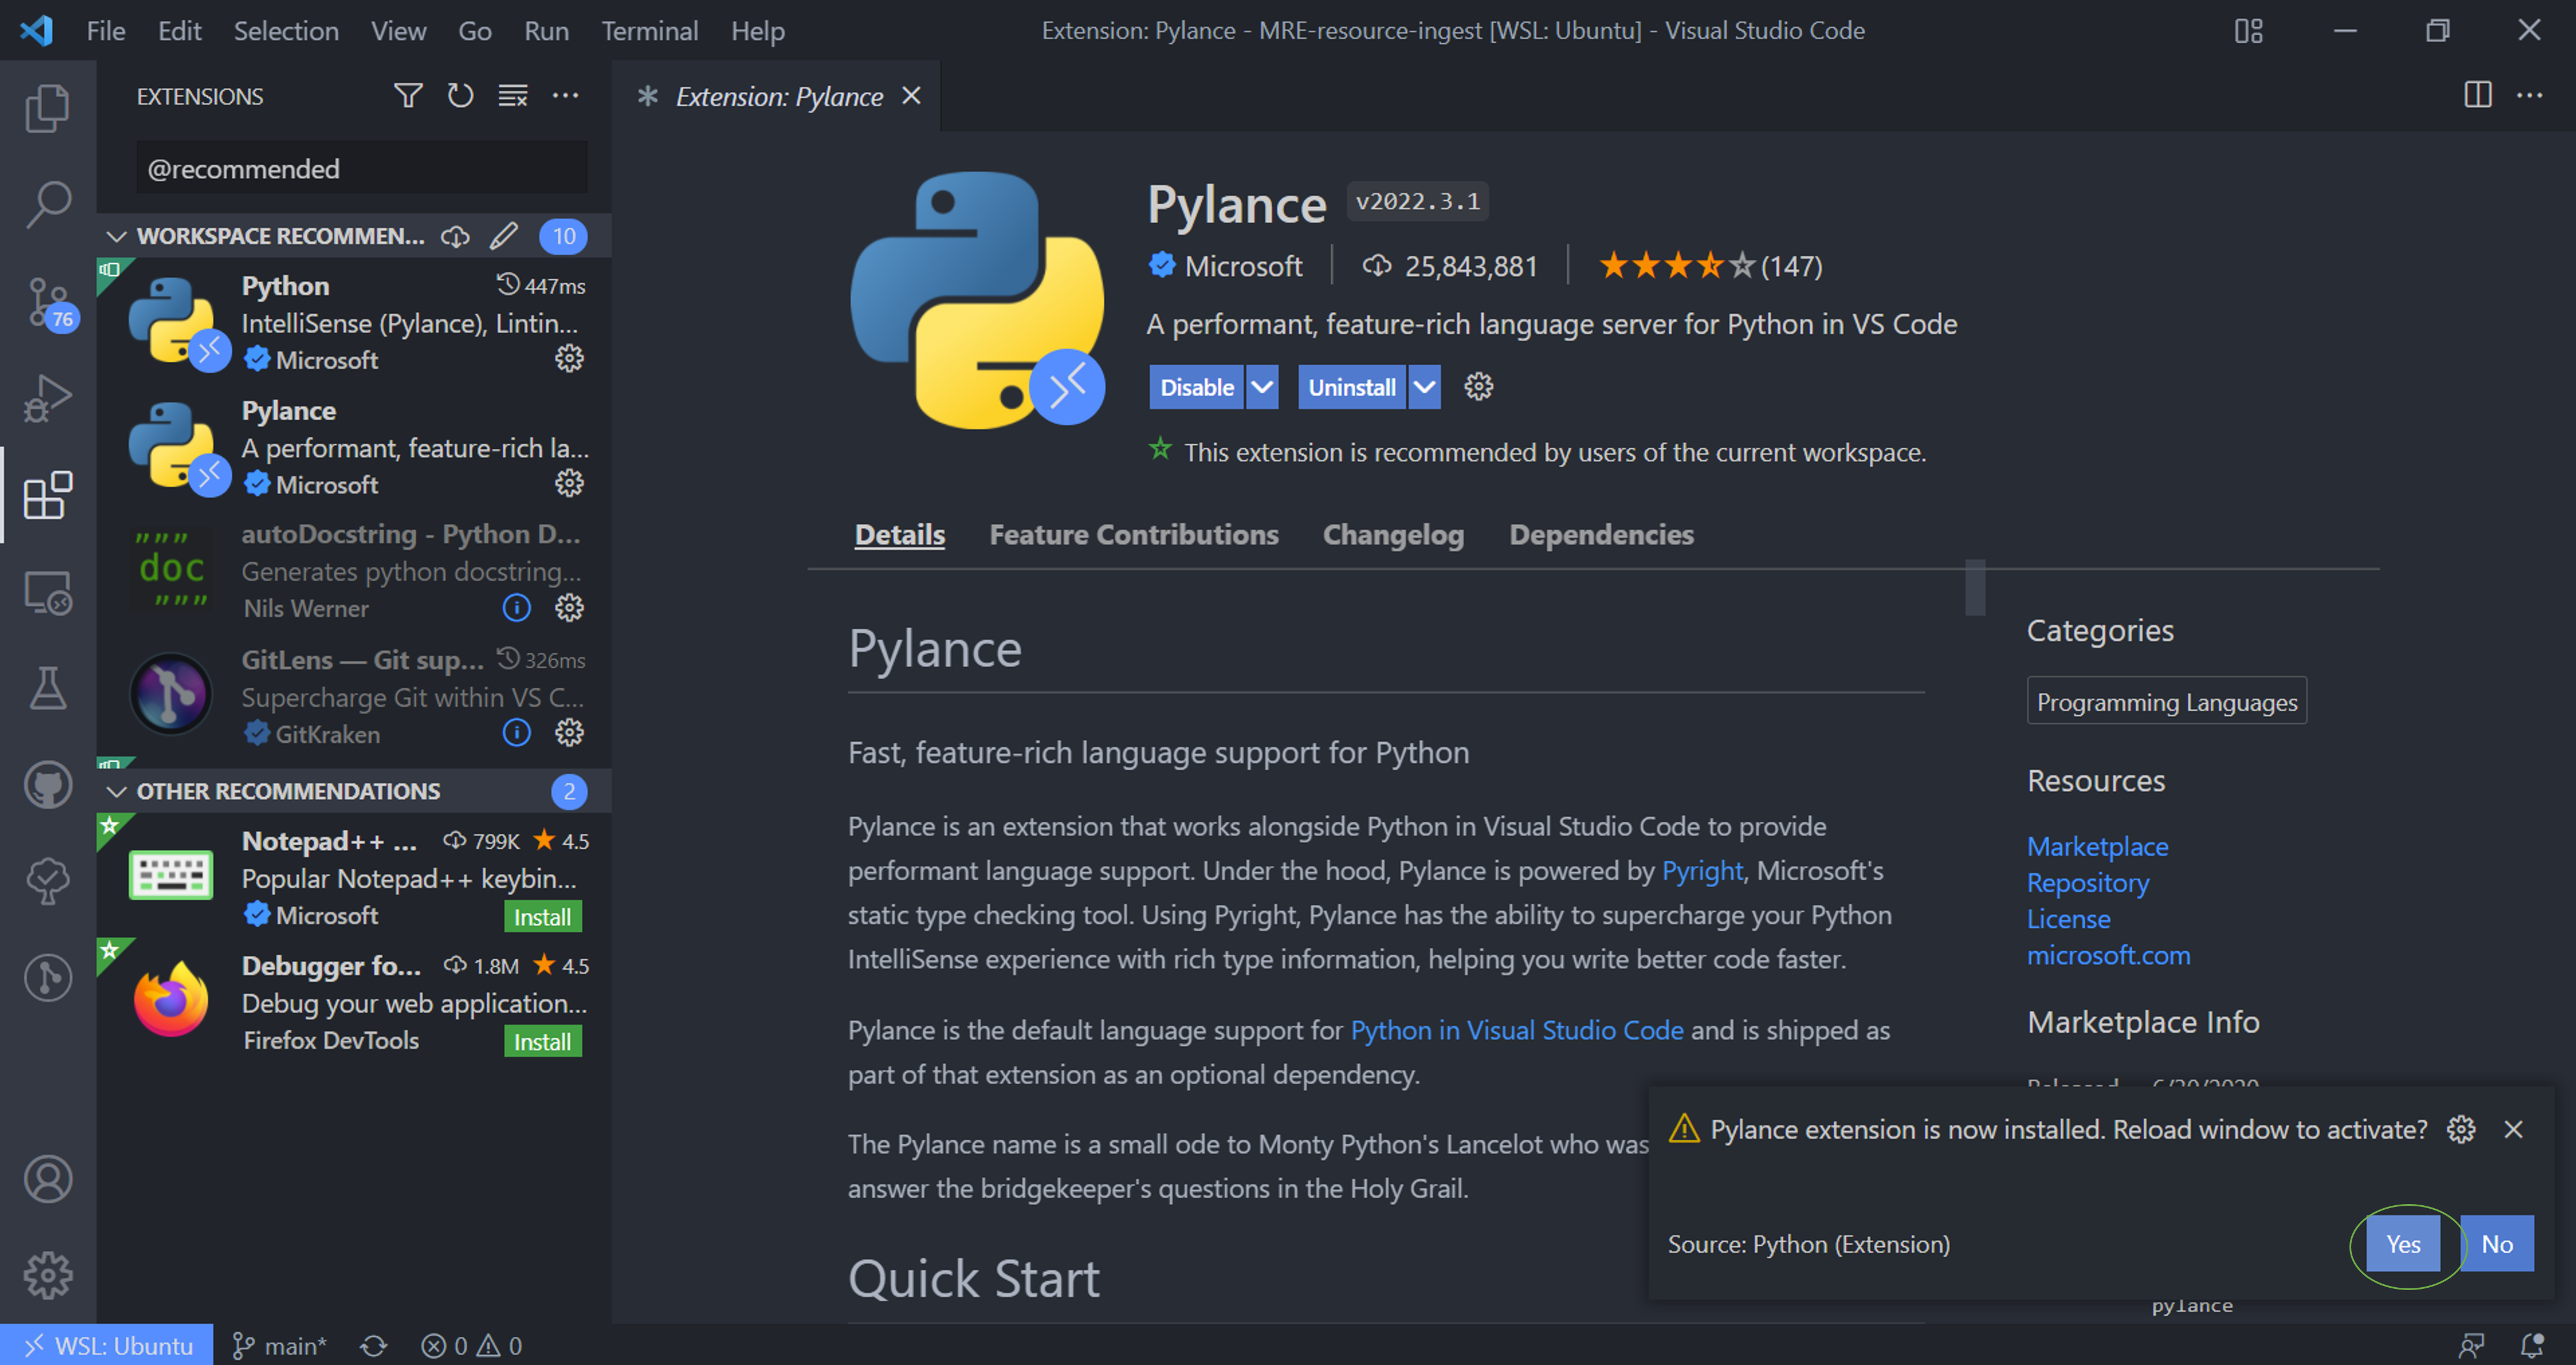
8. When the “Pylance” extension installs, VSCode will prompt you to reload the window. Do so.
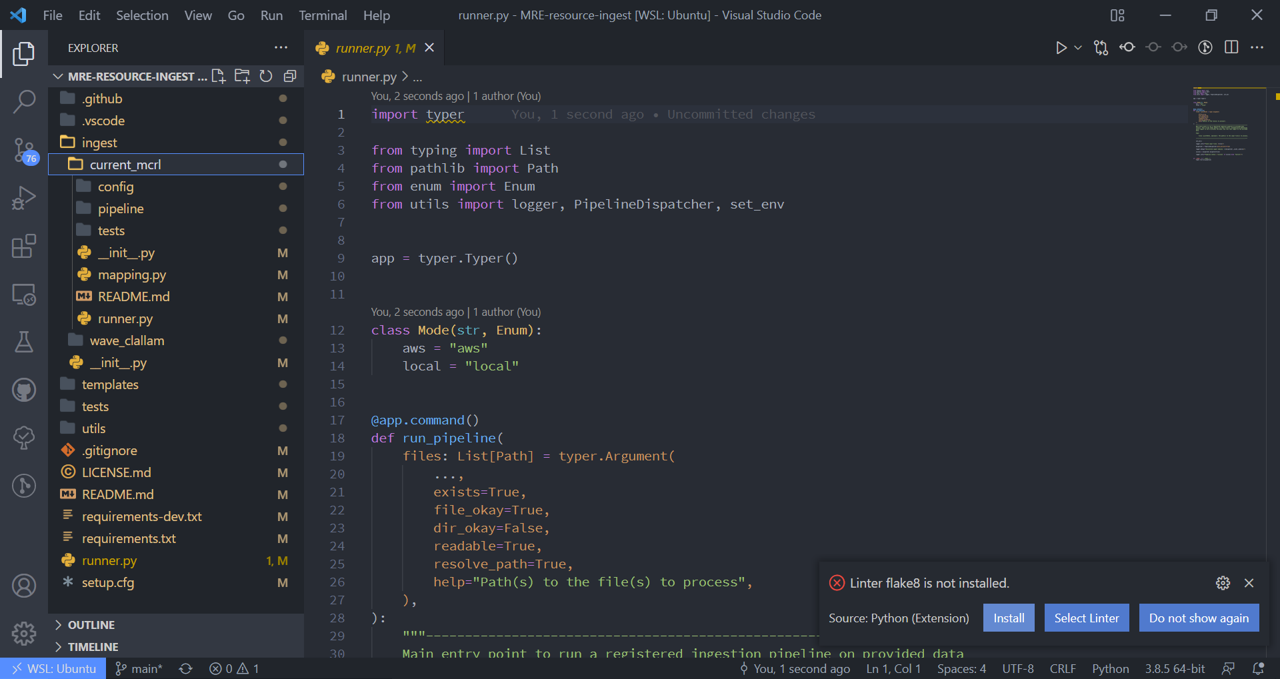
9. The next prompts from VSCode will likely be “<package> is not installed”. This is because we need to install python in the WSL environment, so ignore these for now.
Setting up Python in Ubuntu WSL
In these steps I’ll show you how to set up Miniconda in WSL. Miniconda is a barebones version of Anaconda that has all the same hardware, but doesn’t download Anaconda’s full suite of python packages, which saves disk space.
Start by opening an Ubuntu bash and downloading Miniconda from the command line:
curl -sL "https://repo.anaconda.com/miniconda/Miniconda3-latest-Linux-x86_64.sh" > "miniconda3.sh"
2. This command renames and saves the downloaded file with a simpler filename. Run the ‘.sh’ file with:
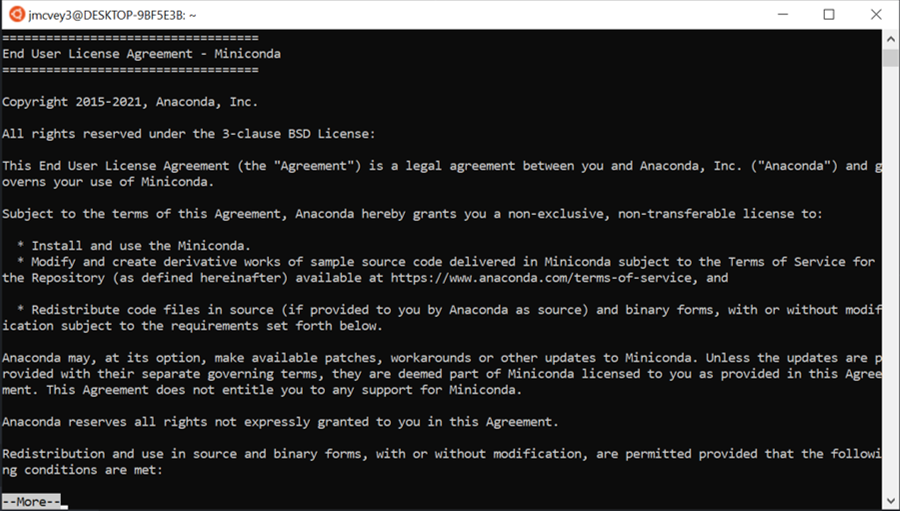
bash miniconda3.sh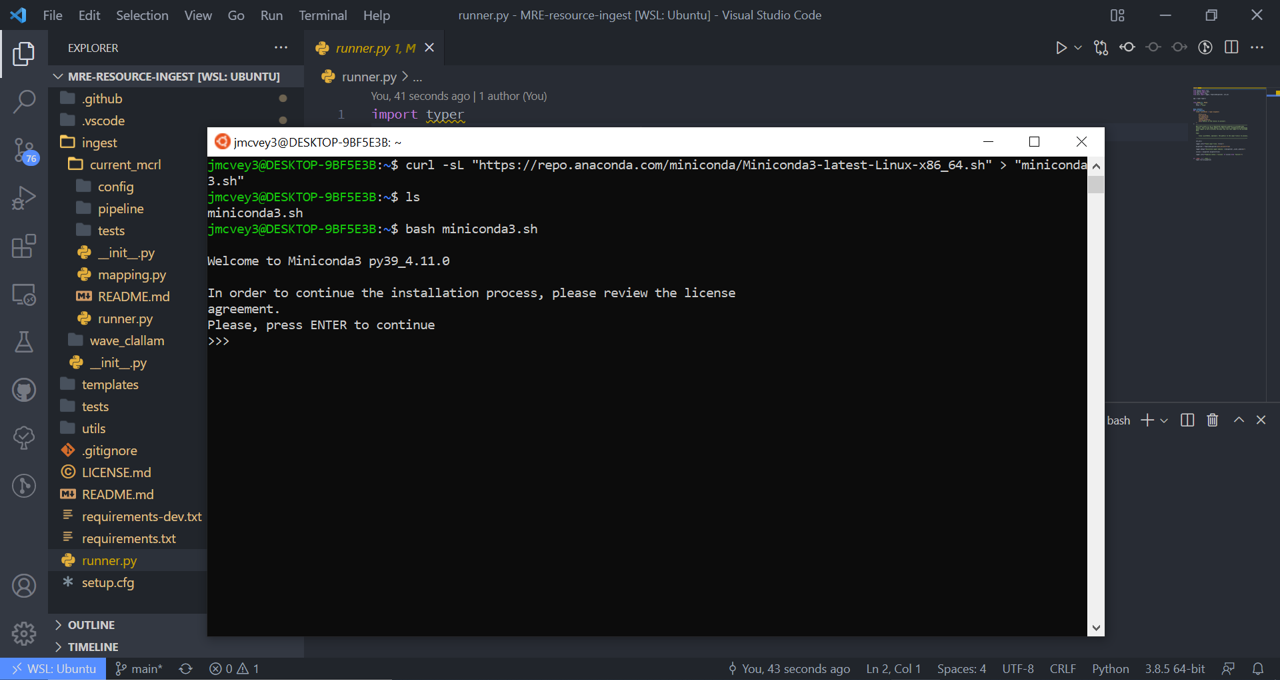
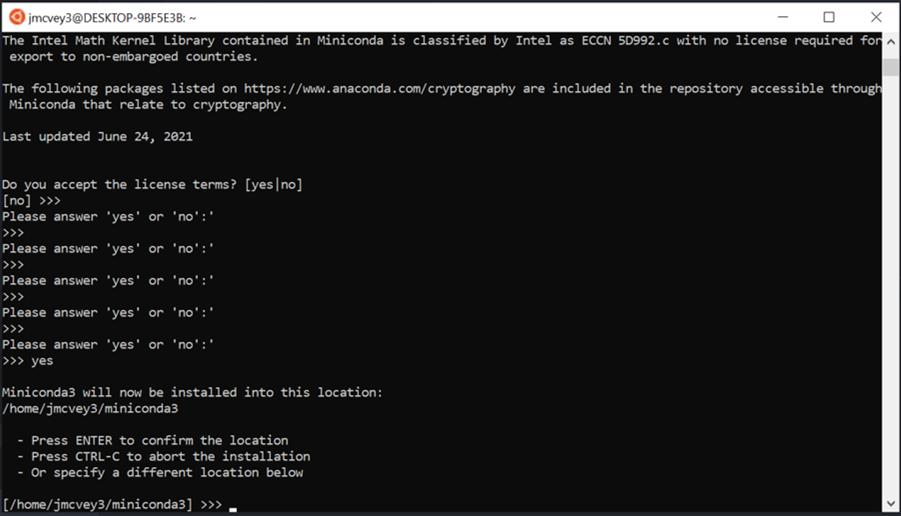
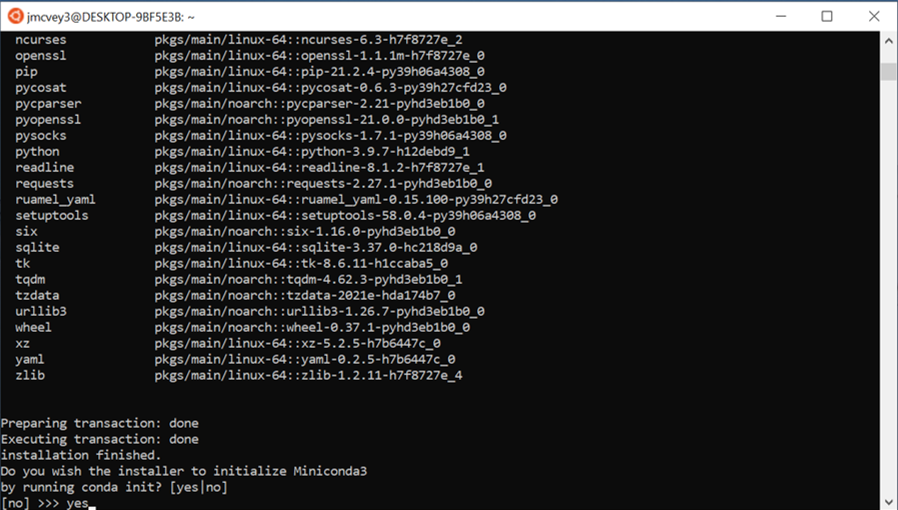
3. This will start the install process. Scroll through the install process with the “enter” key, and type “yes” to the prompts as they pop up.
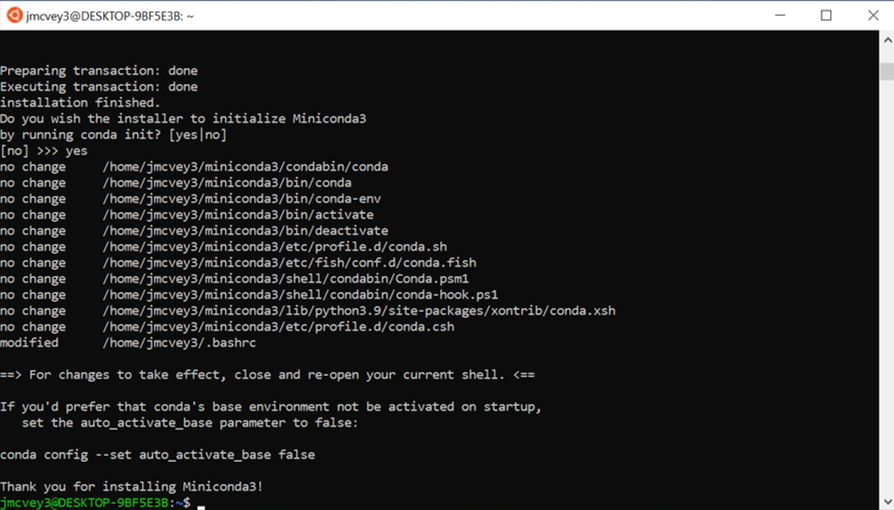
4. Once Miniconda3 finishes installing, it’ll ask you to “close and open your shell”. To do this, close the Ubuntu window, open up a Windows Powershell window, and type:
wsl --shutdown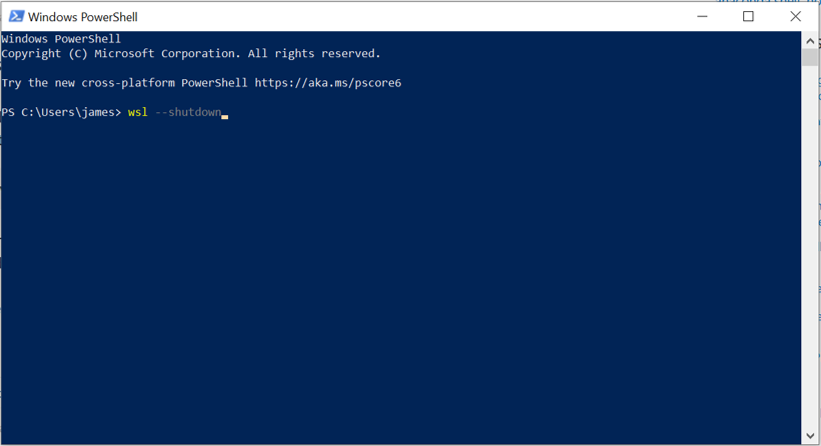
If you don’t do this, you’ll get an http error anytime you try to run conda:
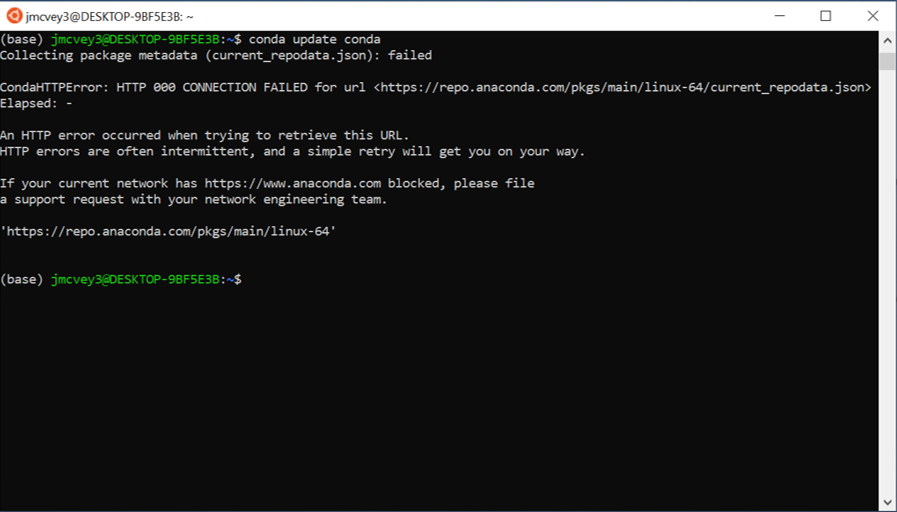
Reopen an Ubuntu bash, and update conda:
conda update conda
Remove the Miniconda download file:
rm miniconda3.sh
And install “wget” if it wasn’t downloaded with conda:
conda install wget
Using a WSL Environment in VSCode
Now that Ubuntu has a python environment set up, we need to open it in VSCode
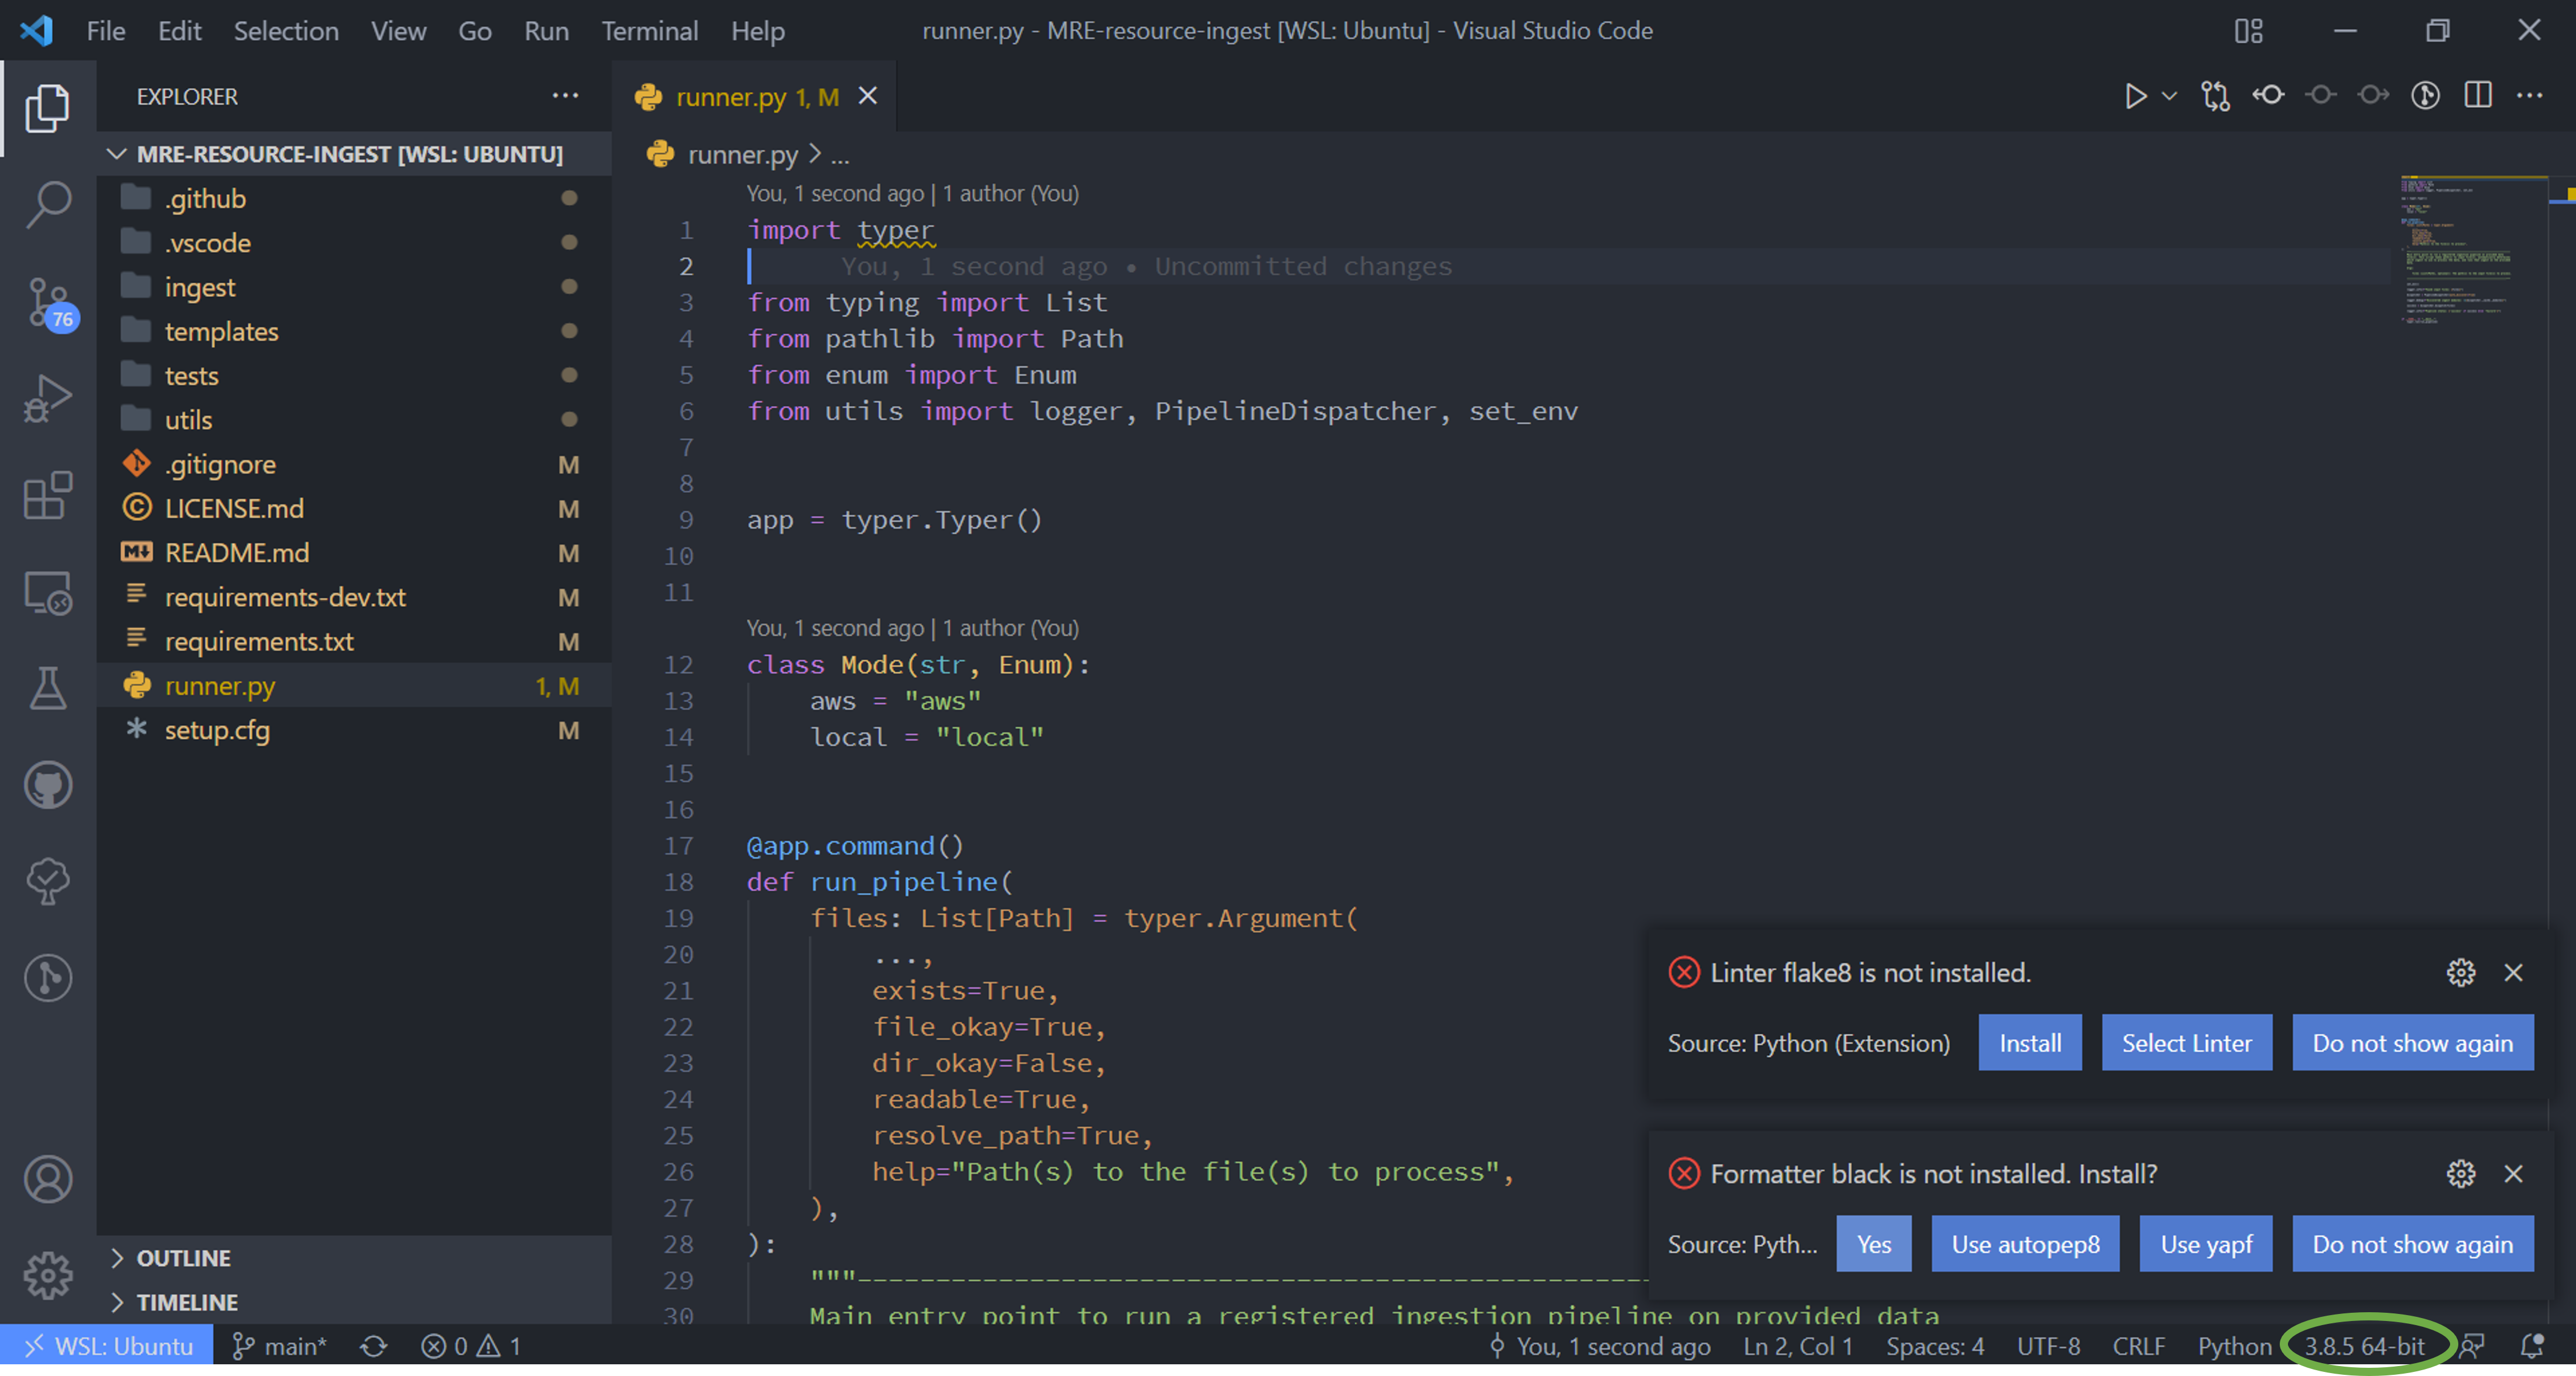
1. Open up the vscode window and click the python version in the bottom right hand corner. This is our active python environment
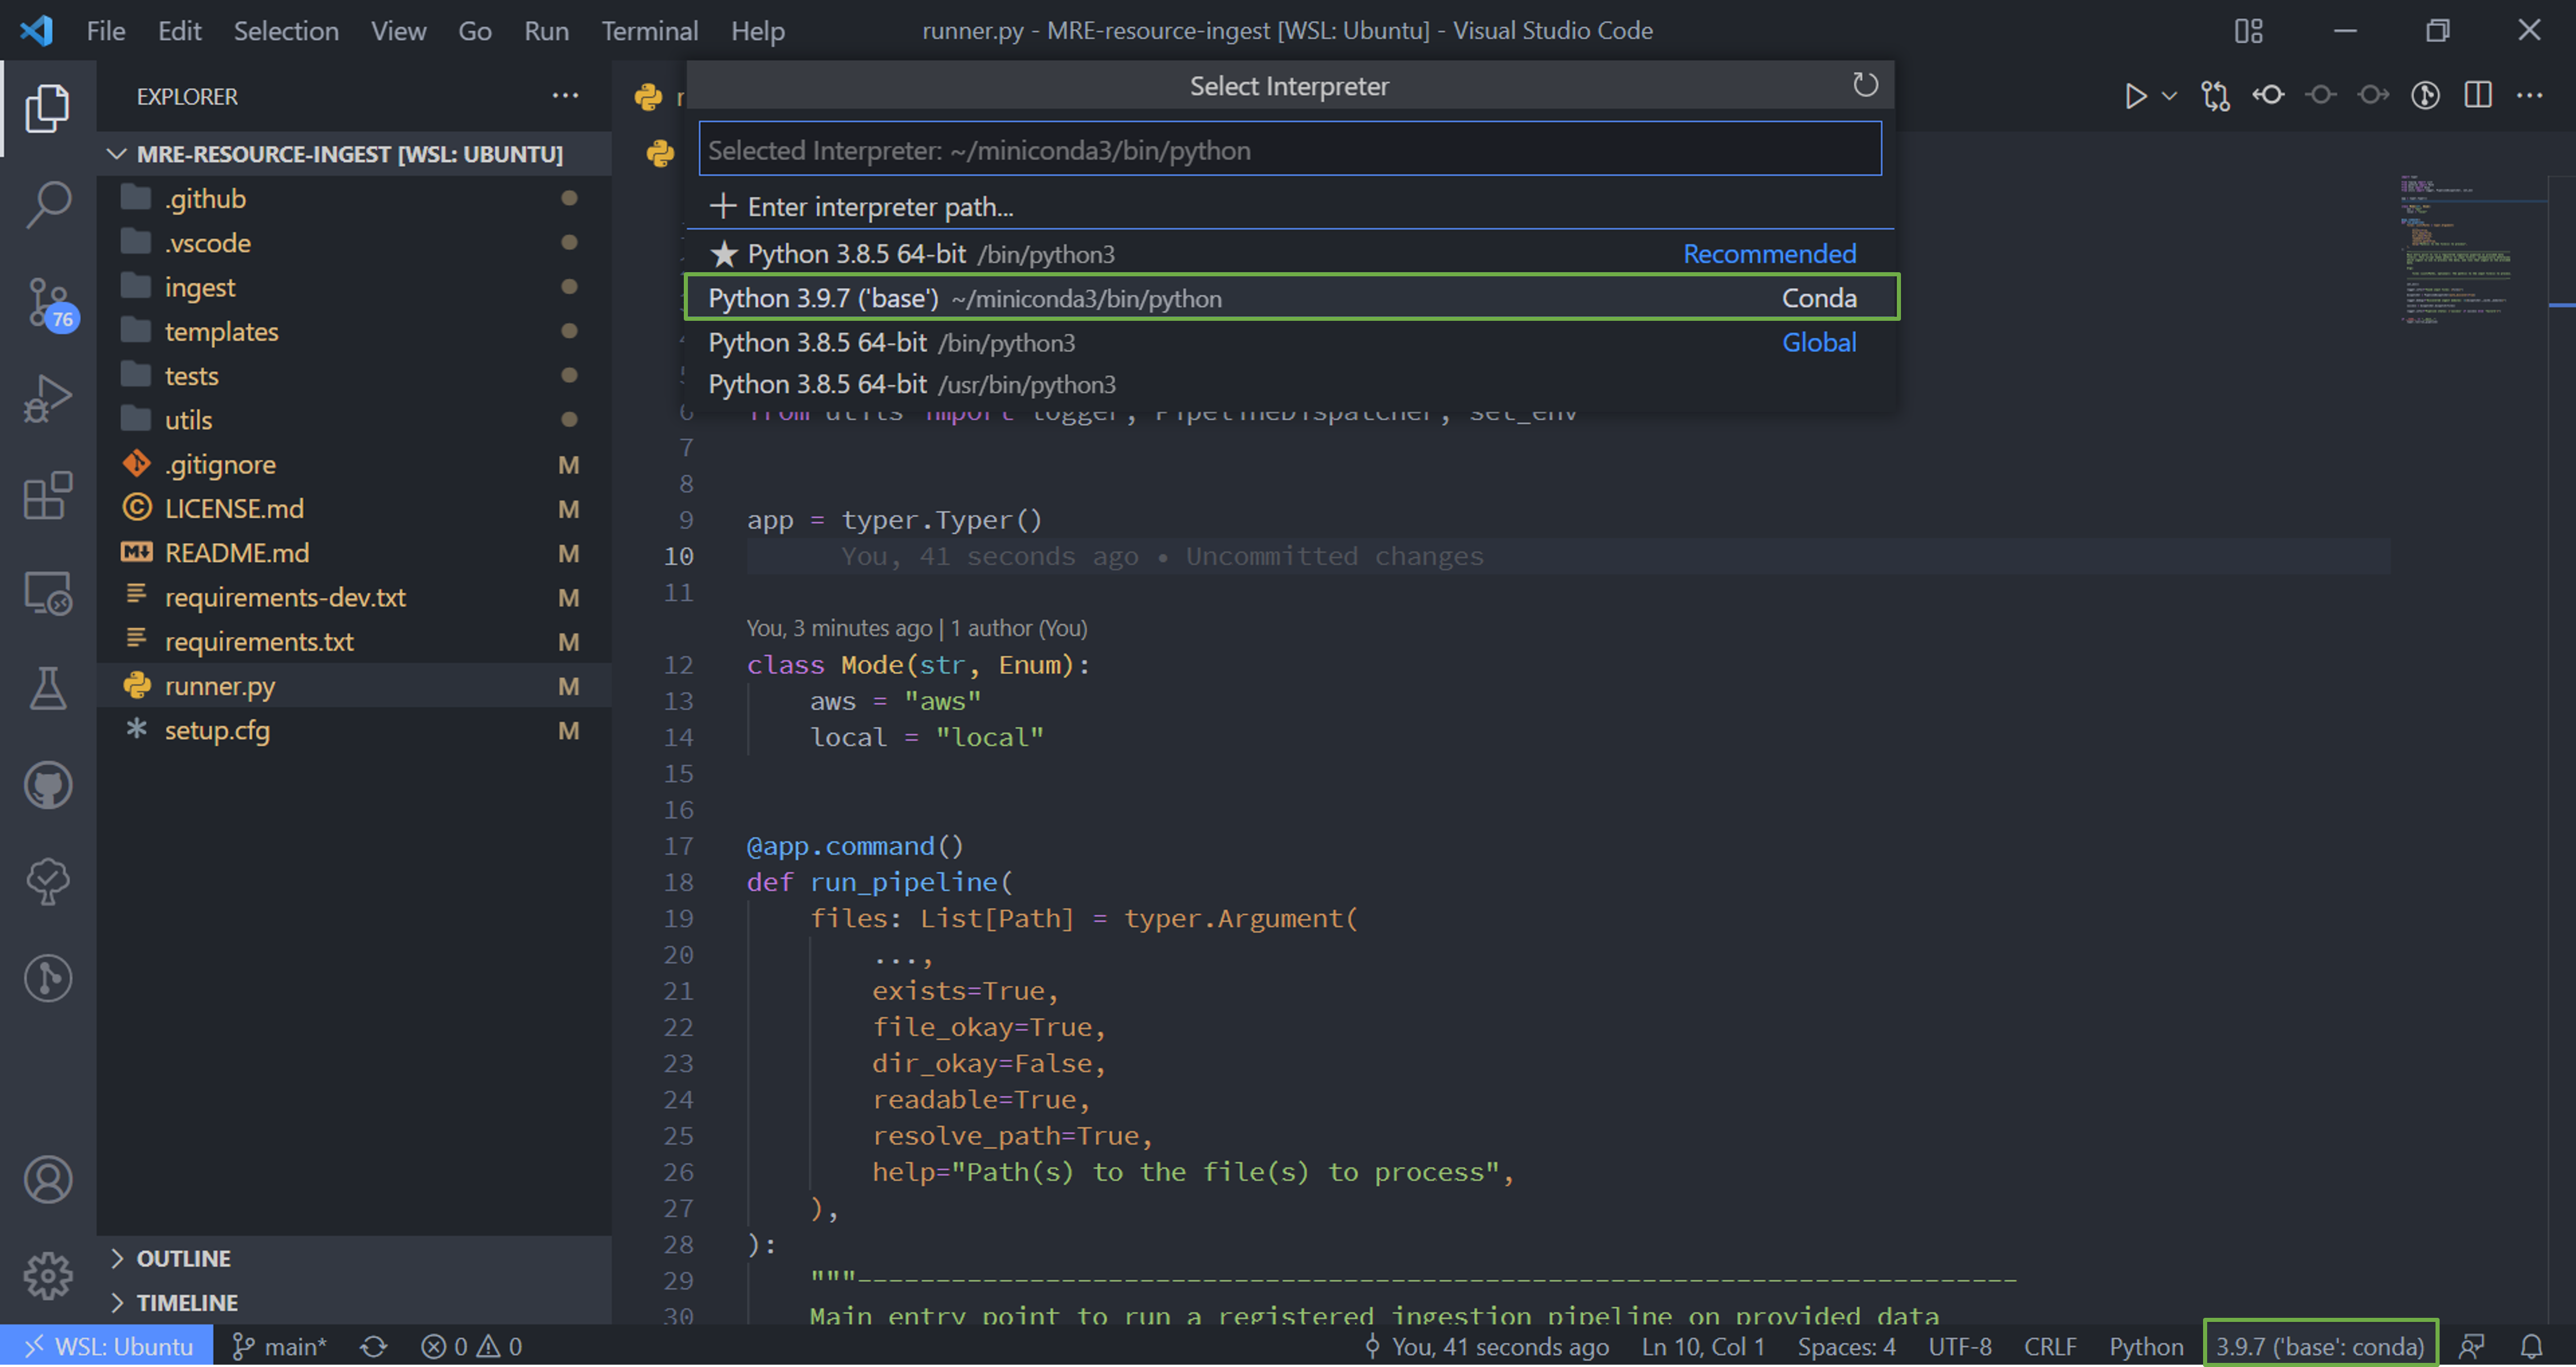
2. In the command bar list that drops down, select the ‘base’ environment from miniconda. You’ll see the environment name change in the bottom toolbar.
Whenever you open WSL in VSCode, you’ll want to make sure the miniconda environment is running.
3. Everything should now be set up to run tsdat, so at this point we just need to
install it. Type ctrl ` to open the VSCode terminal. This should automatically
open a new terminal window and a few lines of code should automatically run to
activate the conda environment. The name of your environment should show up in
parenthesis in the terminal command line
(i.e. “(<env_name>) <username>@<machine>:<path>$”).
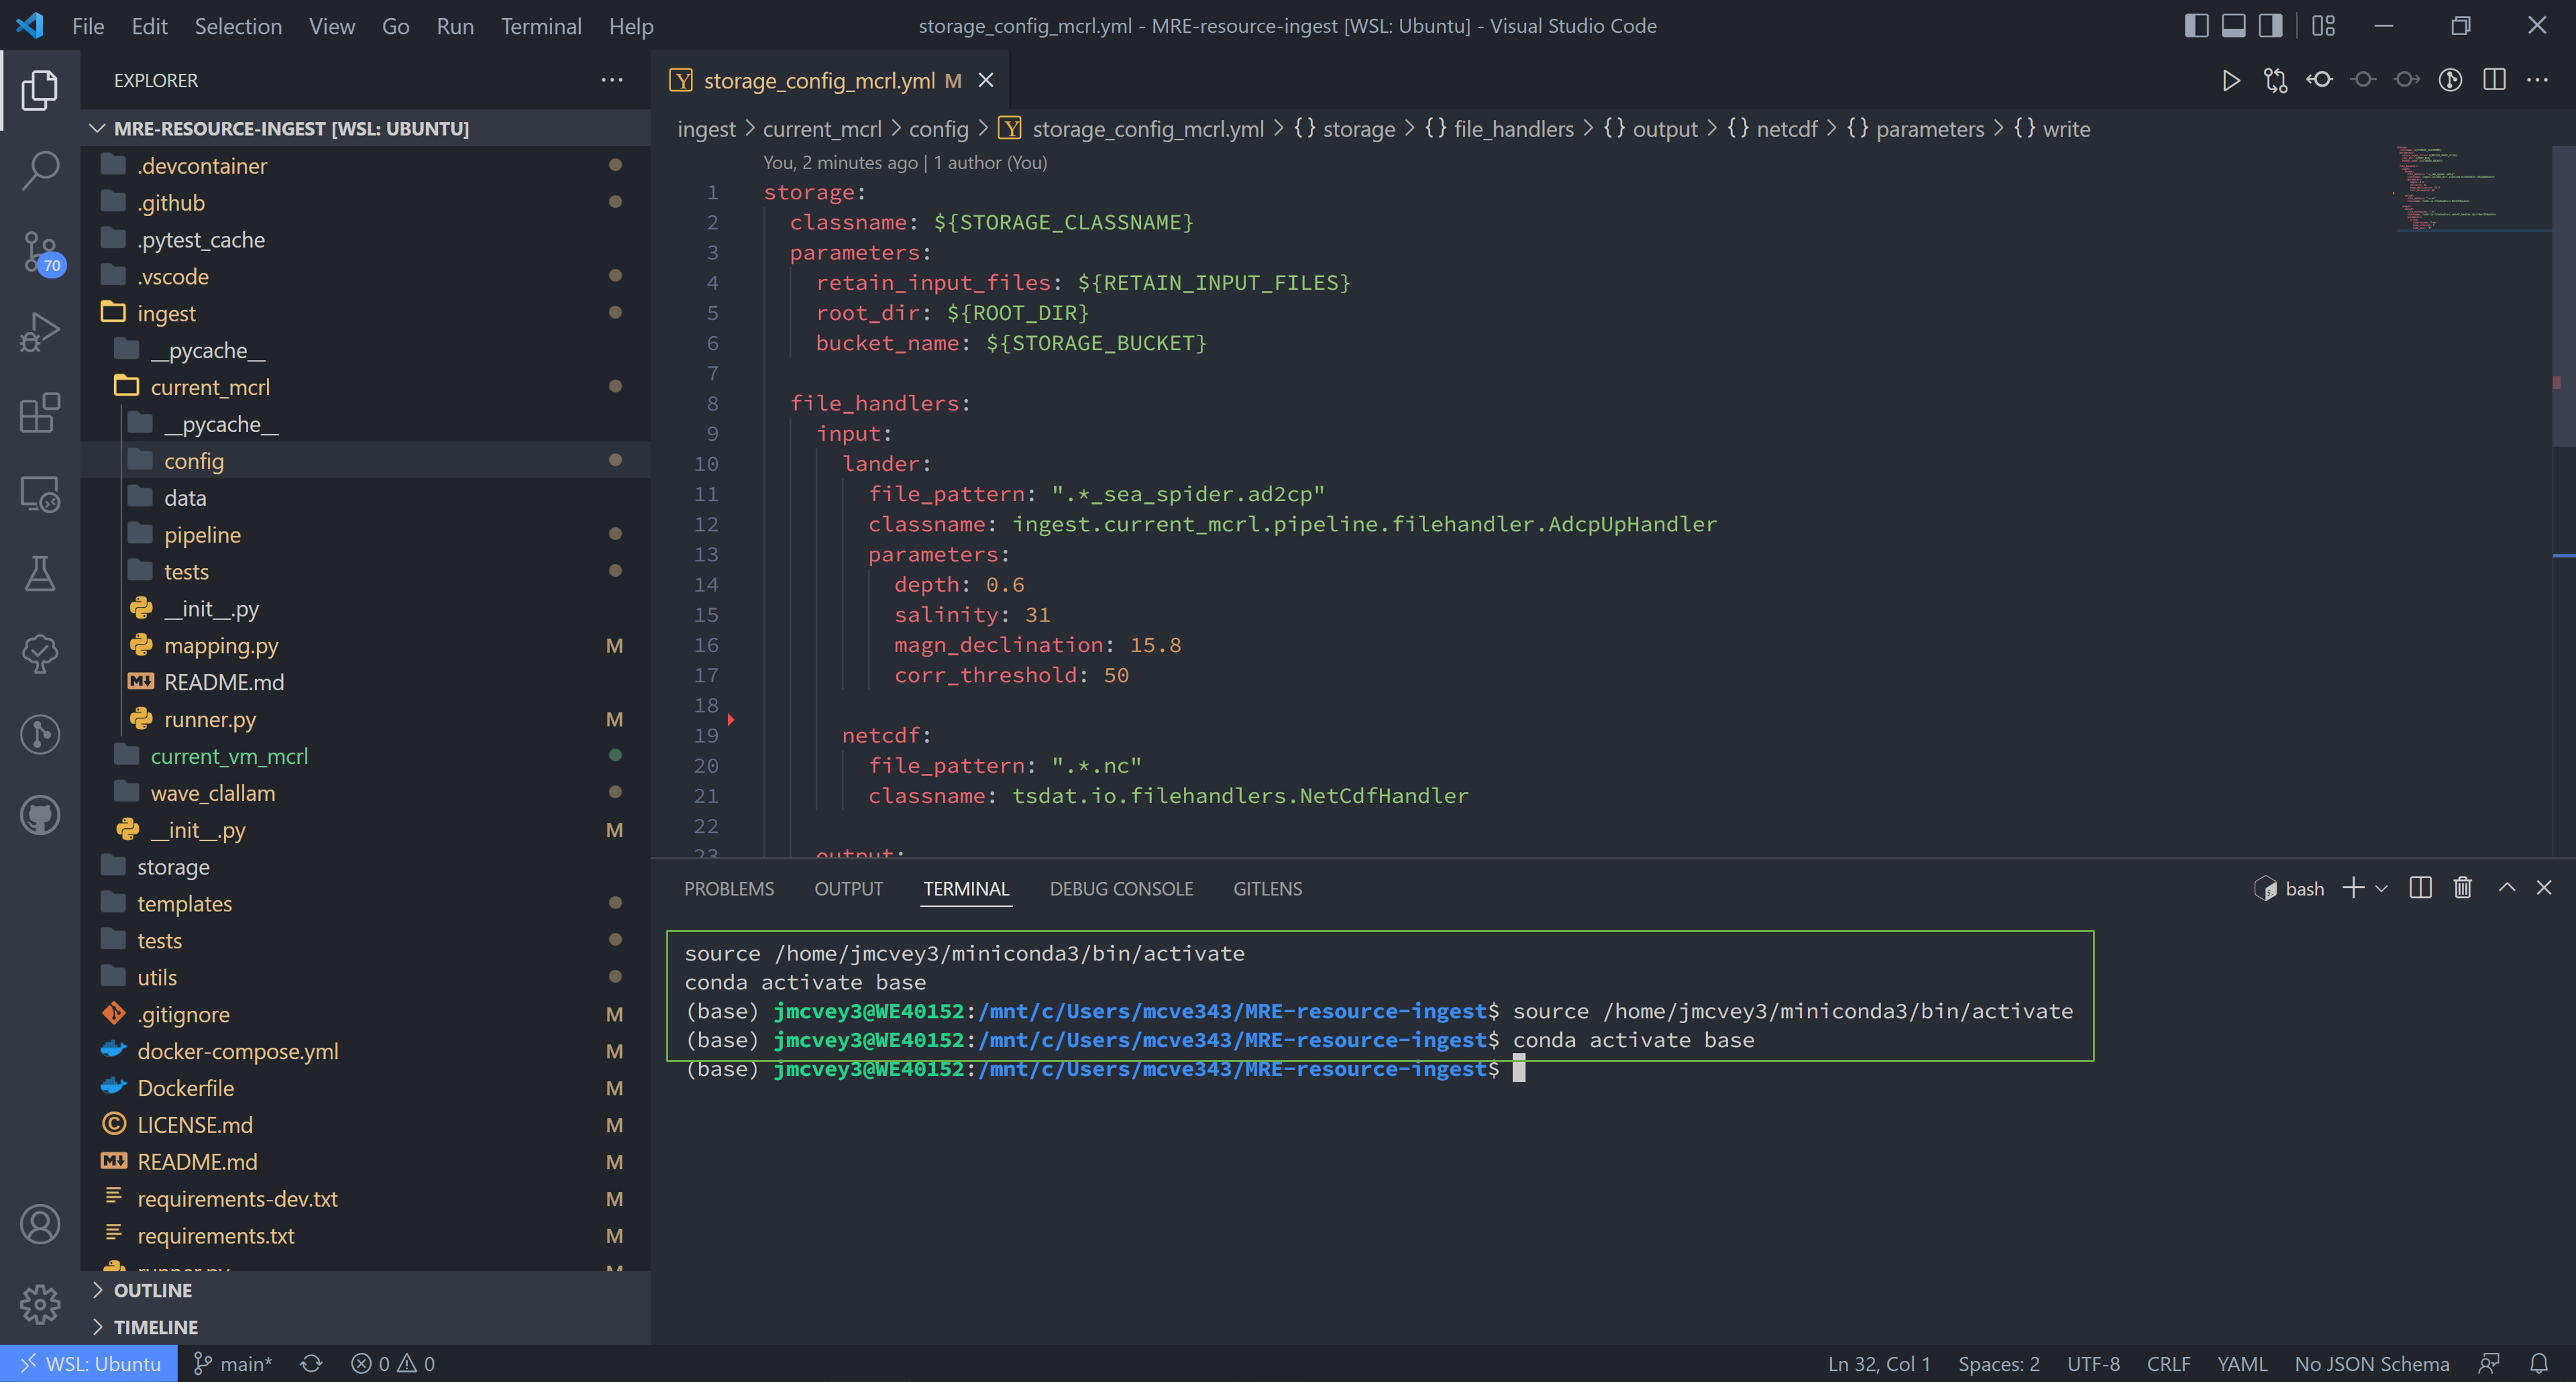
If the conda environment doesn’t activate, make sure the “CodeRunner” extension is installed.
Congrats! You know have a working WSL environment in Windows VSCode.
Note:
If you are running a pipeline and get a “permissions denied” error,
delete the original storage/ folder and let tsdat recreate the data
through WSL. Windows does not allow WSL to alter folder permissions (https://github.com/microsoft/WSL/issues/81), so it can’t write to or
rename folders that it doesn’t originally create.